
Heyo! 👋
Maybe you are thinking;
"Carin, shouldn't you keep your work methods a secret?"
Nah! Forget what "Solo Strategists" might teach you.
Let's aim for openness and collaboration. Besides, it's fun to give you a sneak peek into what I do. If you like photo editing, you will LOVE this photo editing tutorial!
What are you waiting for? Dive into my tips and tricks, my epic wins, and yes, even my flops in this tutorial. (I know better now... 😂 )

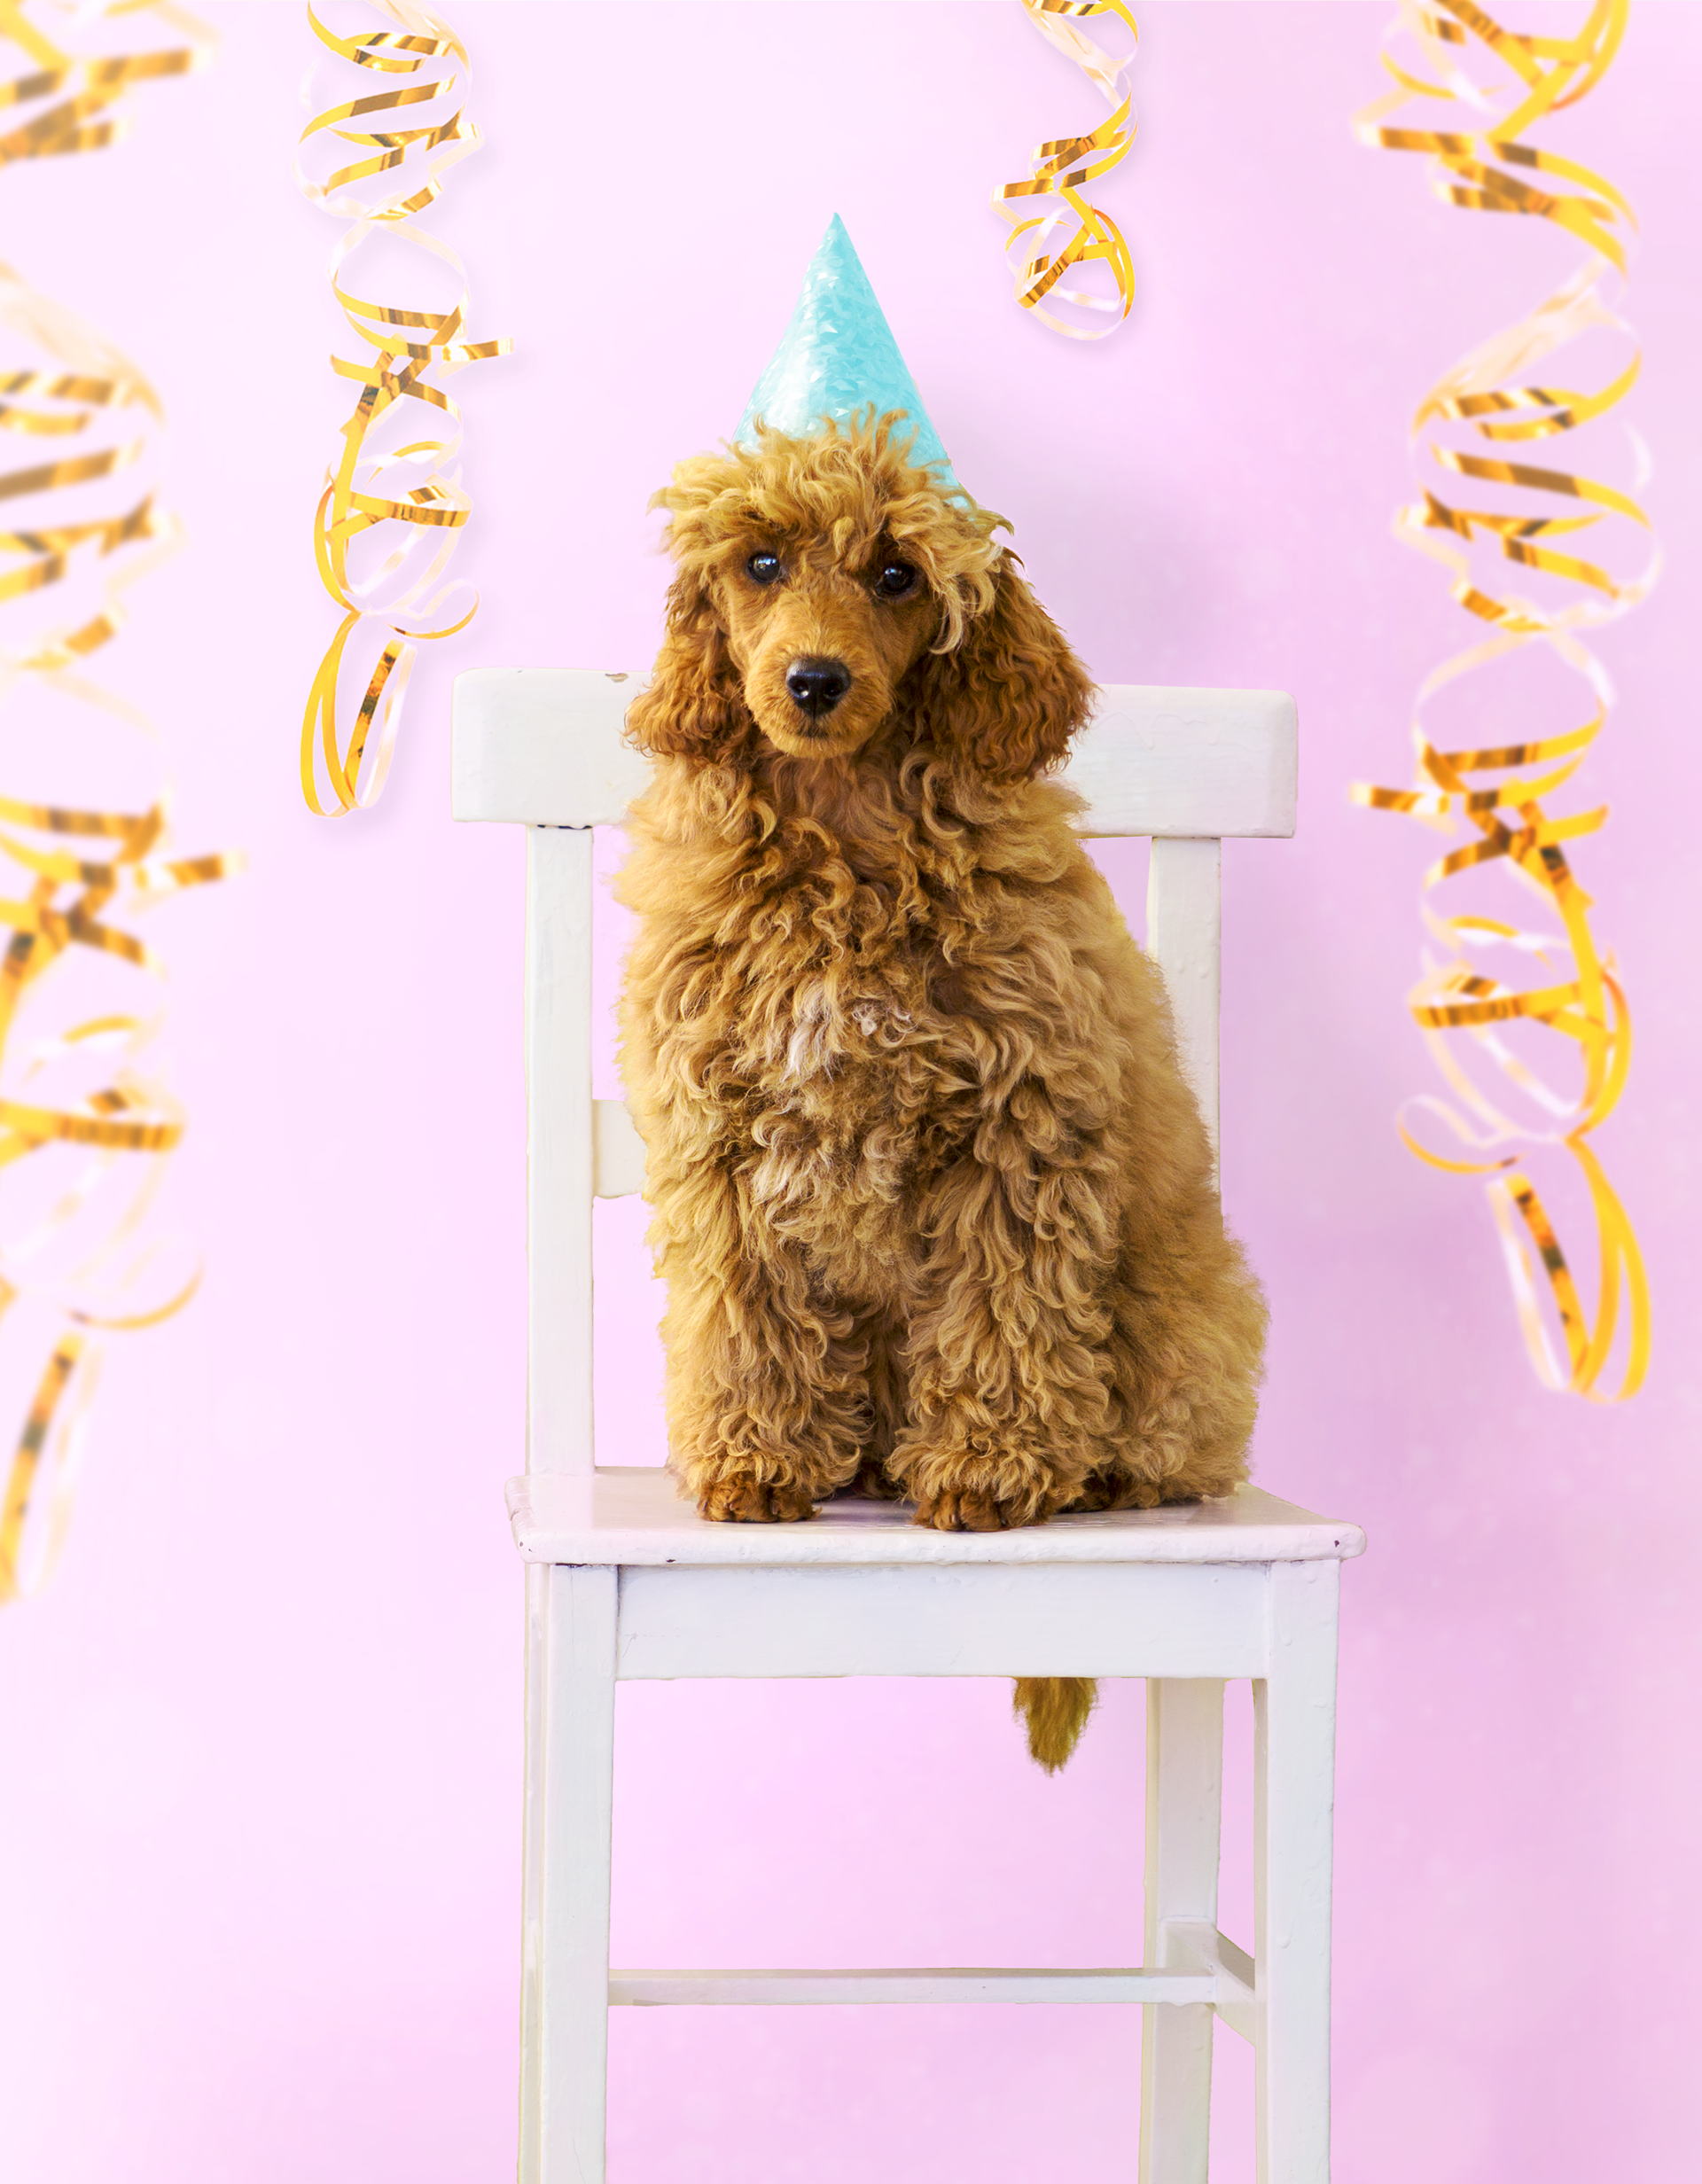
We will take a look into how to create the image above and round off with a summary and key takeaways. ☝️
Step 0: Analyzing what we got to work with
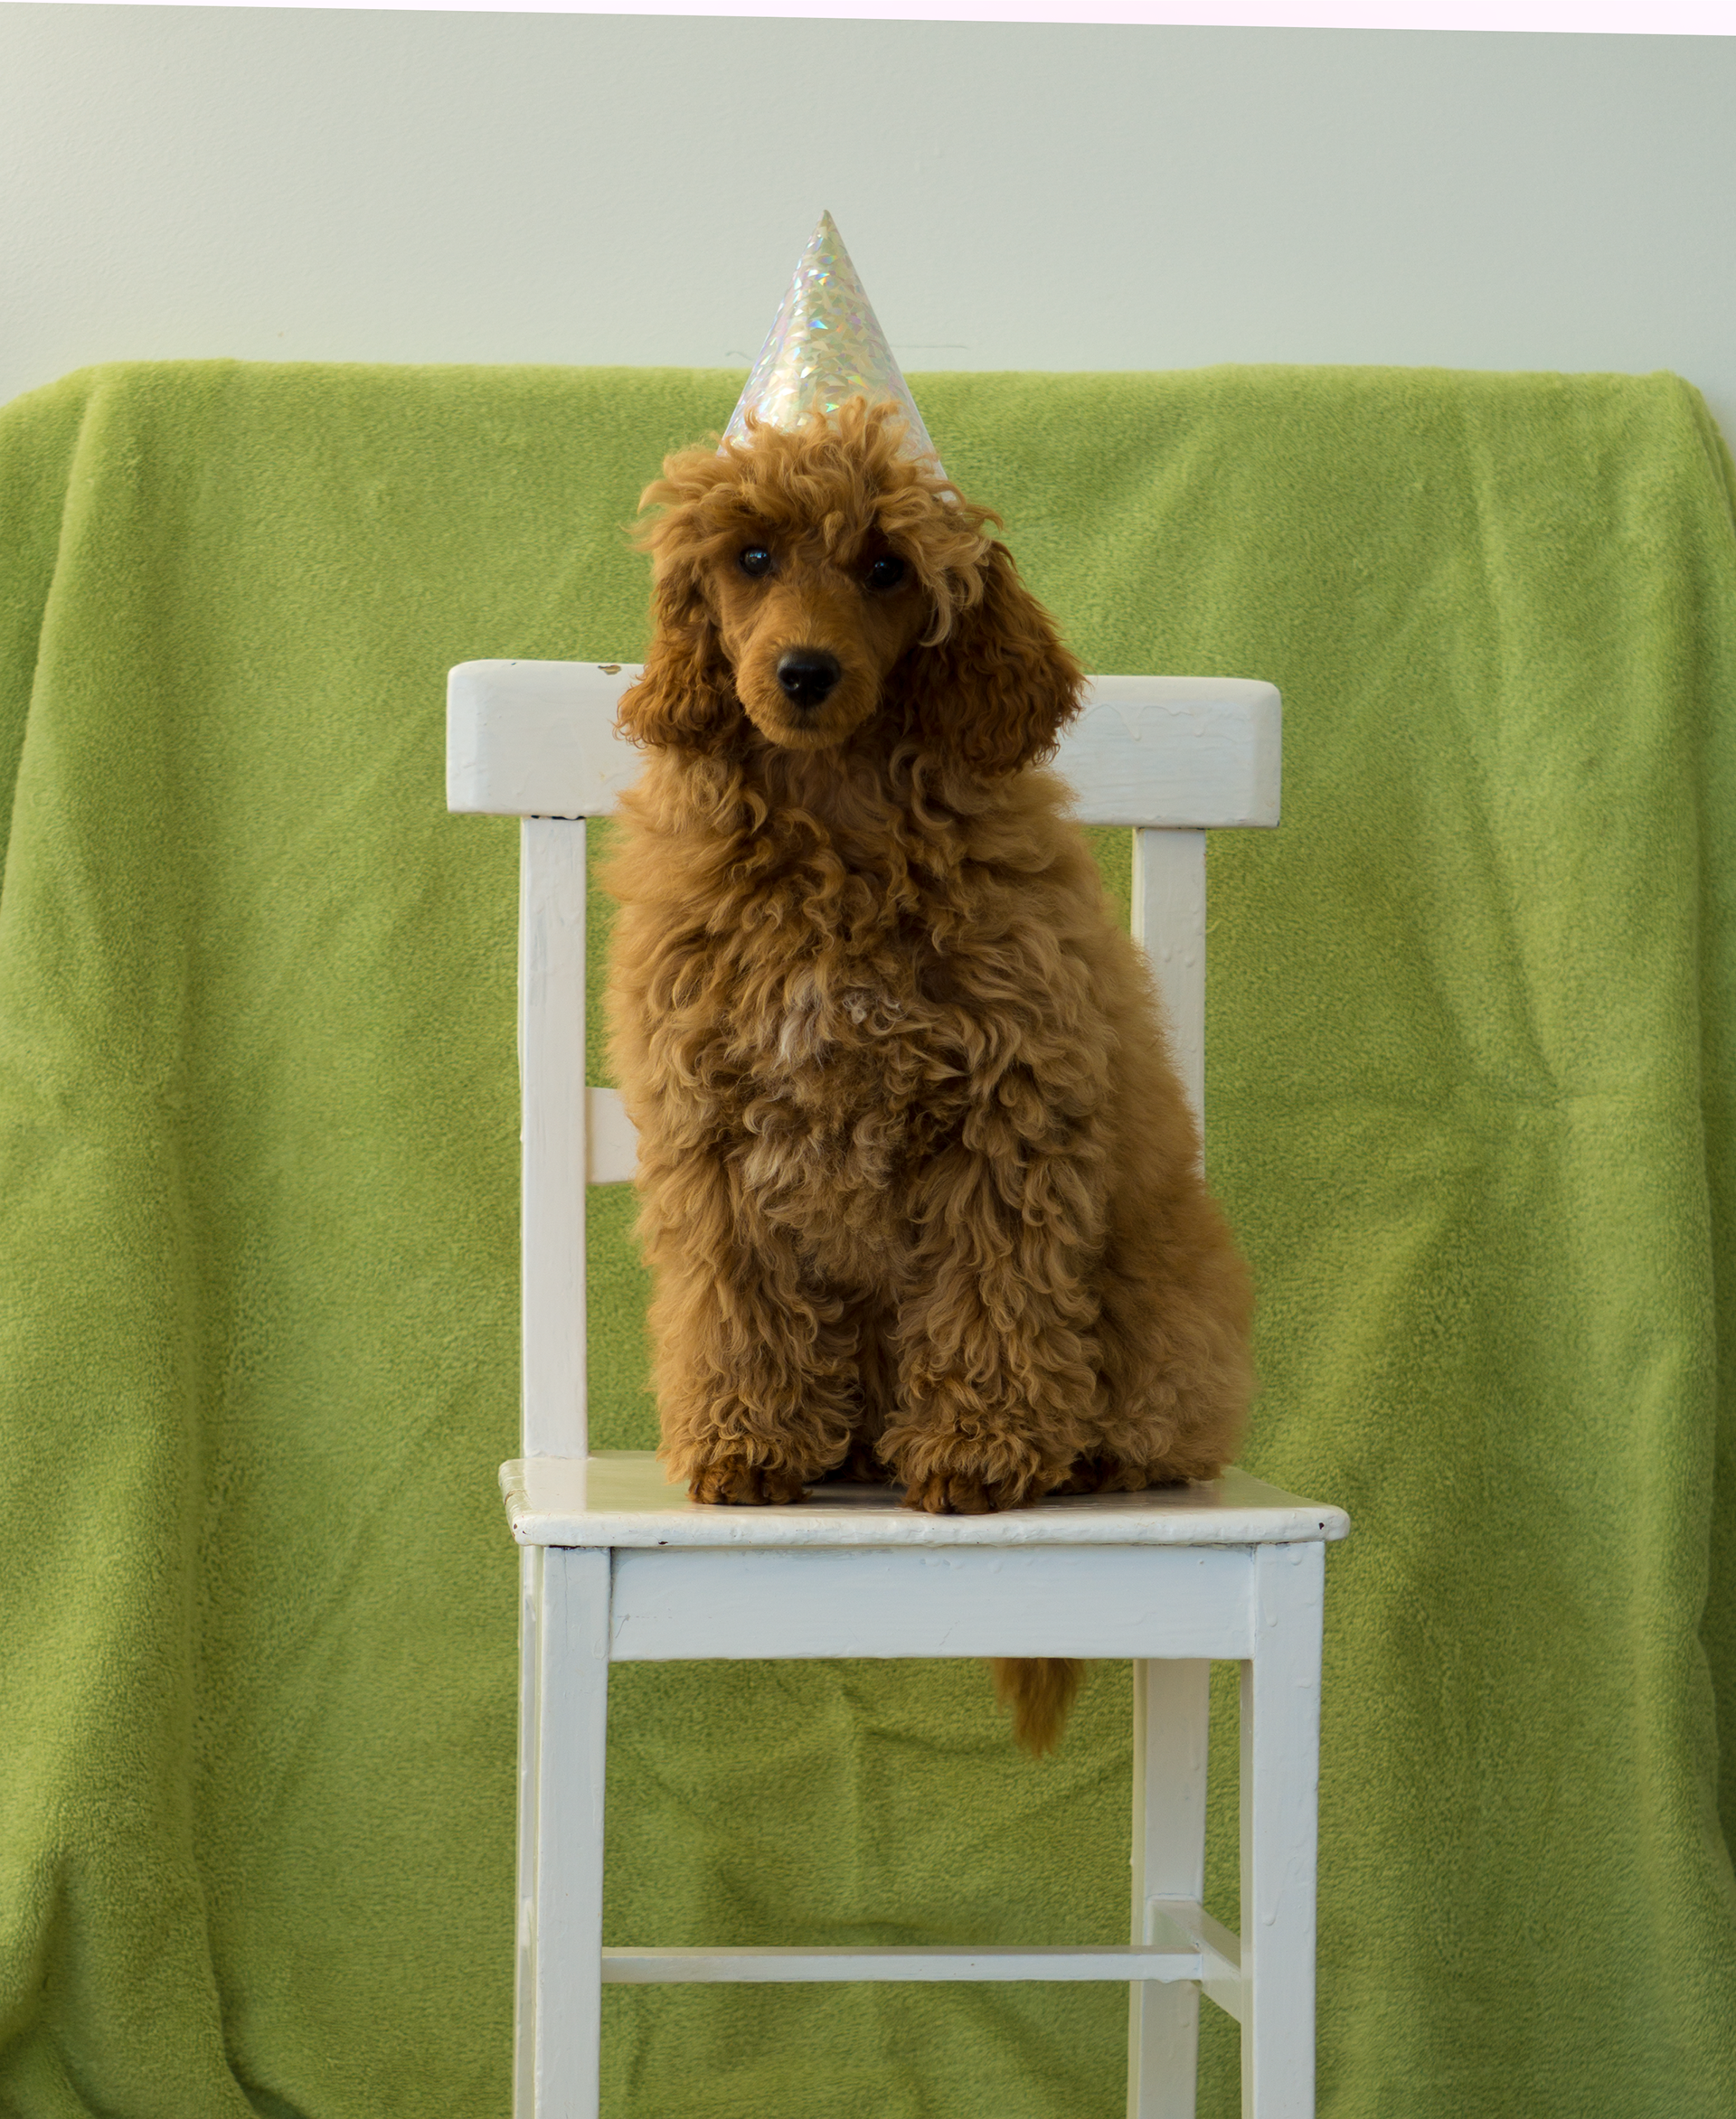
Original photo, our starting point
Okay, we want to analyze the image to know what we got to work with... and judge if this image is even worth editing.
Hm... 🤔
Oh no... Can you detect the green tones in the chair?
Our dog is too close to the green towel. Both my dog and the chair get a green color cast. And besides that, I think that this photo is too dark.
This means extra editing work.
Thankfully, too dark photos are generally easier to save than too light ones, and with a couple of steps, we will get beautiful results. 😉
Step 1: Global adjustments

Original Photo
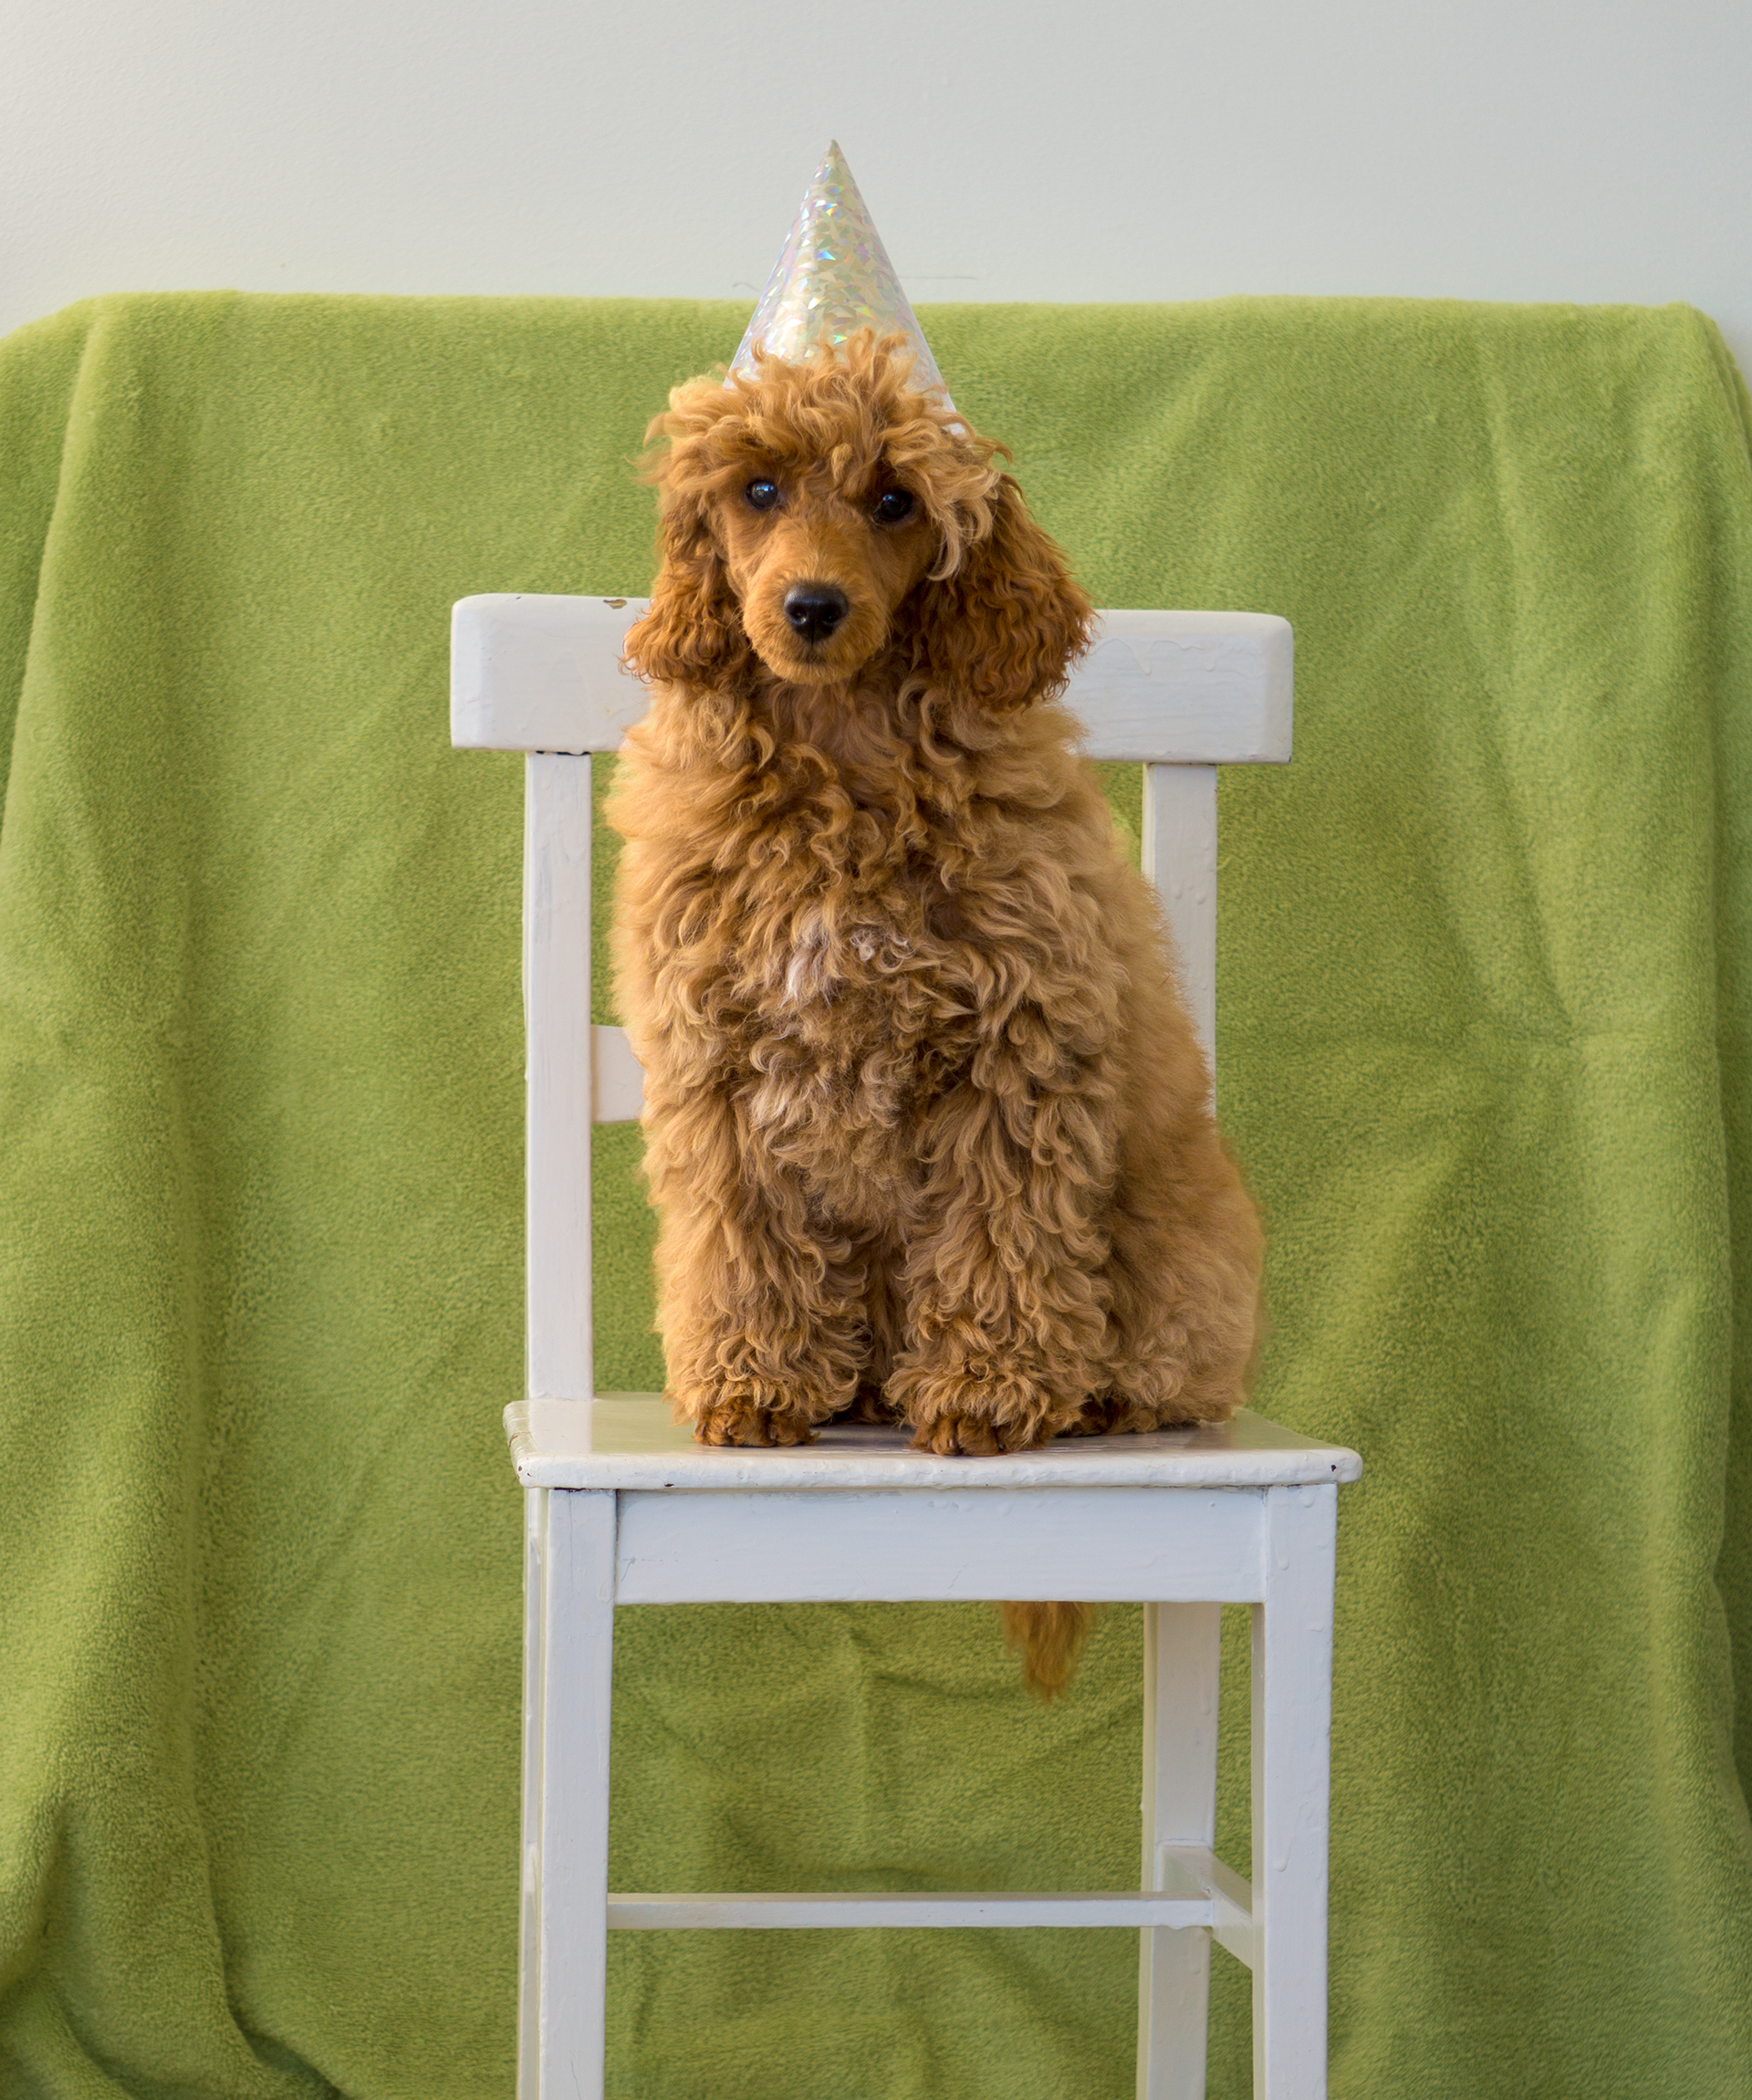
Step 1: Global adjustments
Let's start by making changes that apply to the entire photo.
Like correcting the color and exposure of your photo, or straightening and expanding it.
I start here because changing the photo doesn't automatically update all the layers on top of it. So if you added 21 layers and then want to make your photo bigger, you'd need to individually tweak each layer to fit the larger size. 😰
But if you start with the global adjustments - you will get it right from the start. 😍
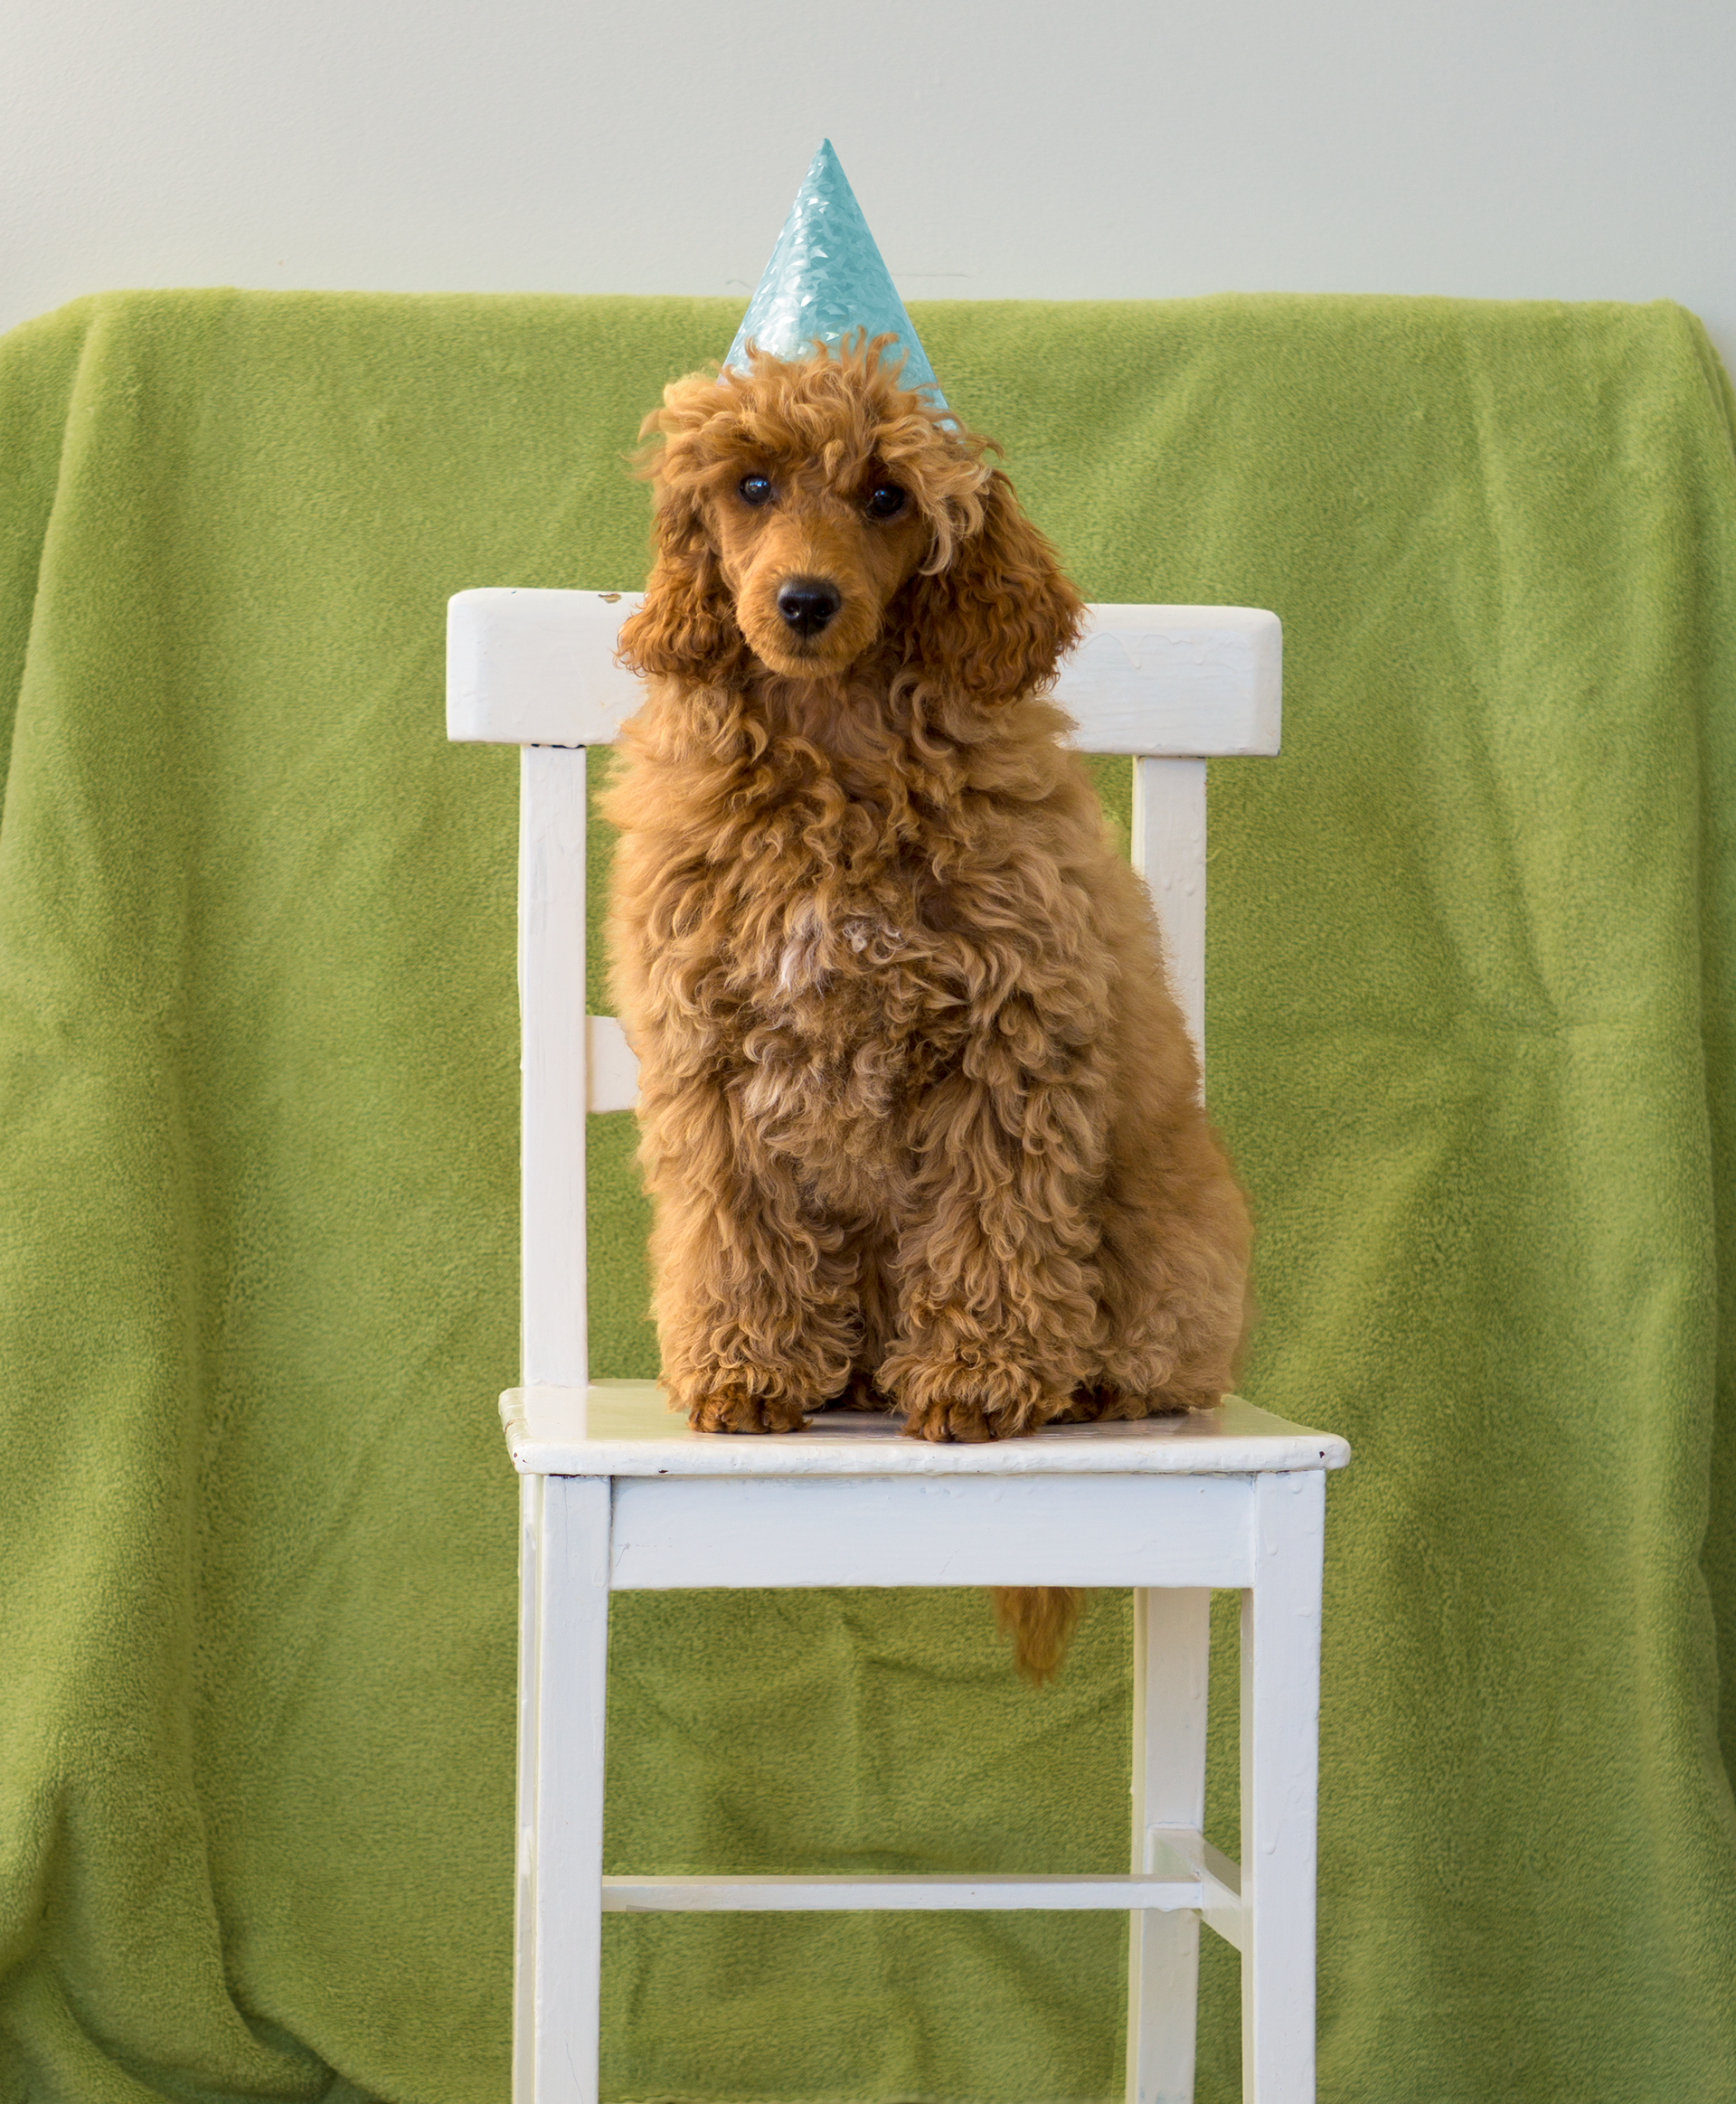
Step 2: Creating selections

The next step is creating "selections", so that you can edit one thing at a time.
Above, you can see that I am making a selection of the party hat, so that I can change the color of it, without coloring the fur or the background.
Invest time in your selections now, and it will save you time later.
Step 3: Adding details
Step 3: Editing part of the image. I change the color of the party hat!
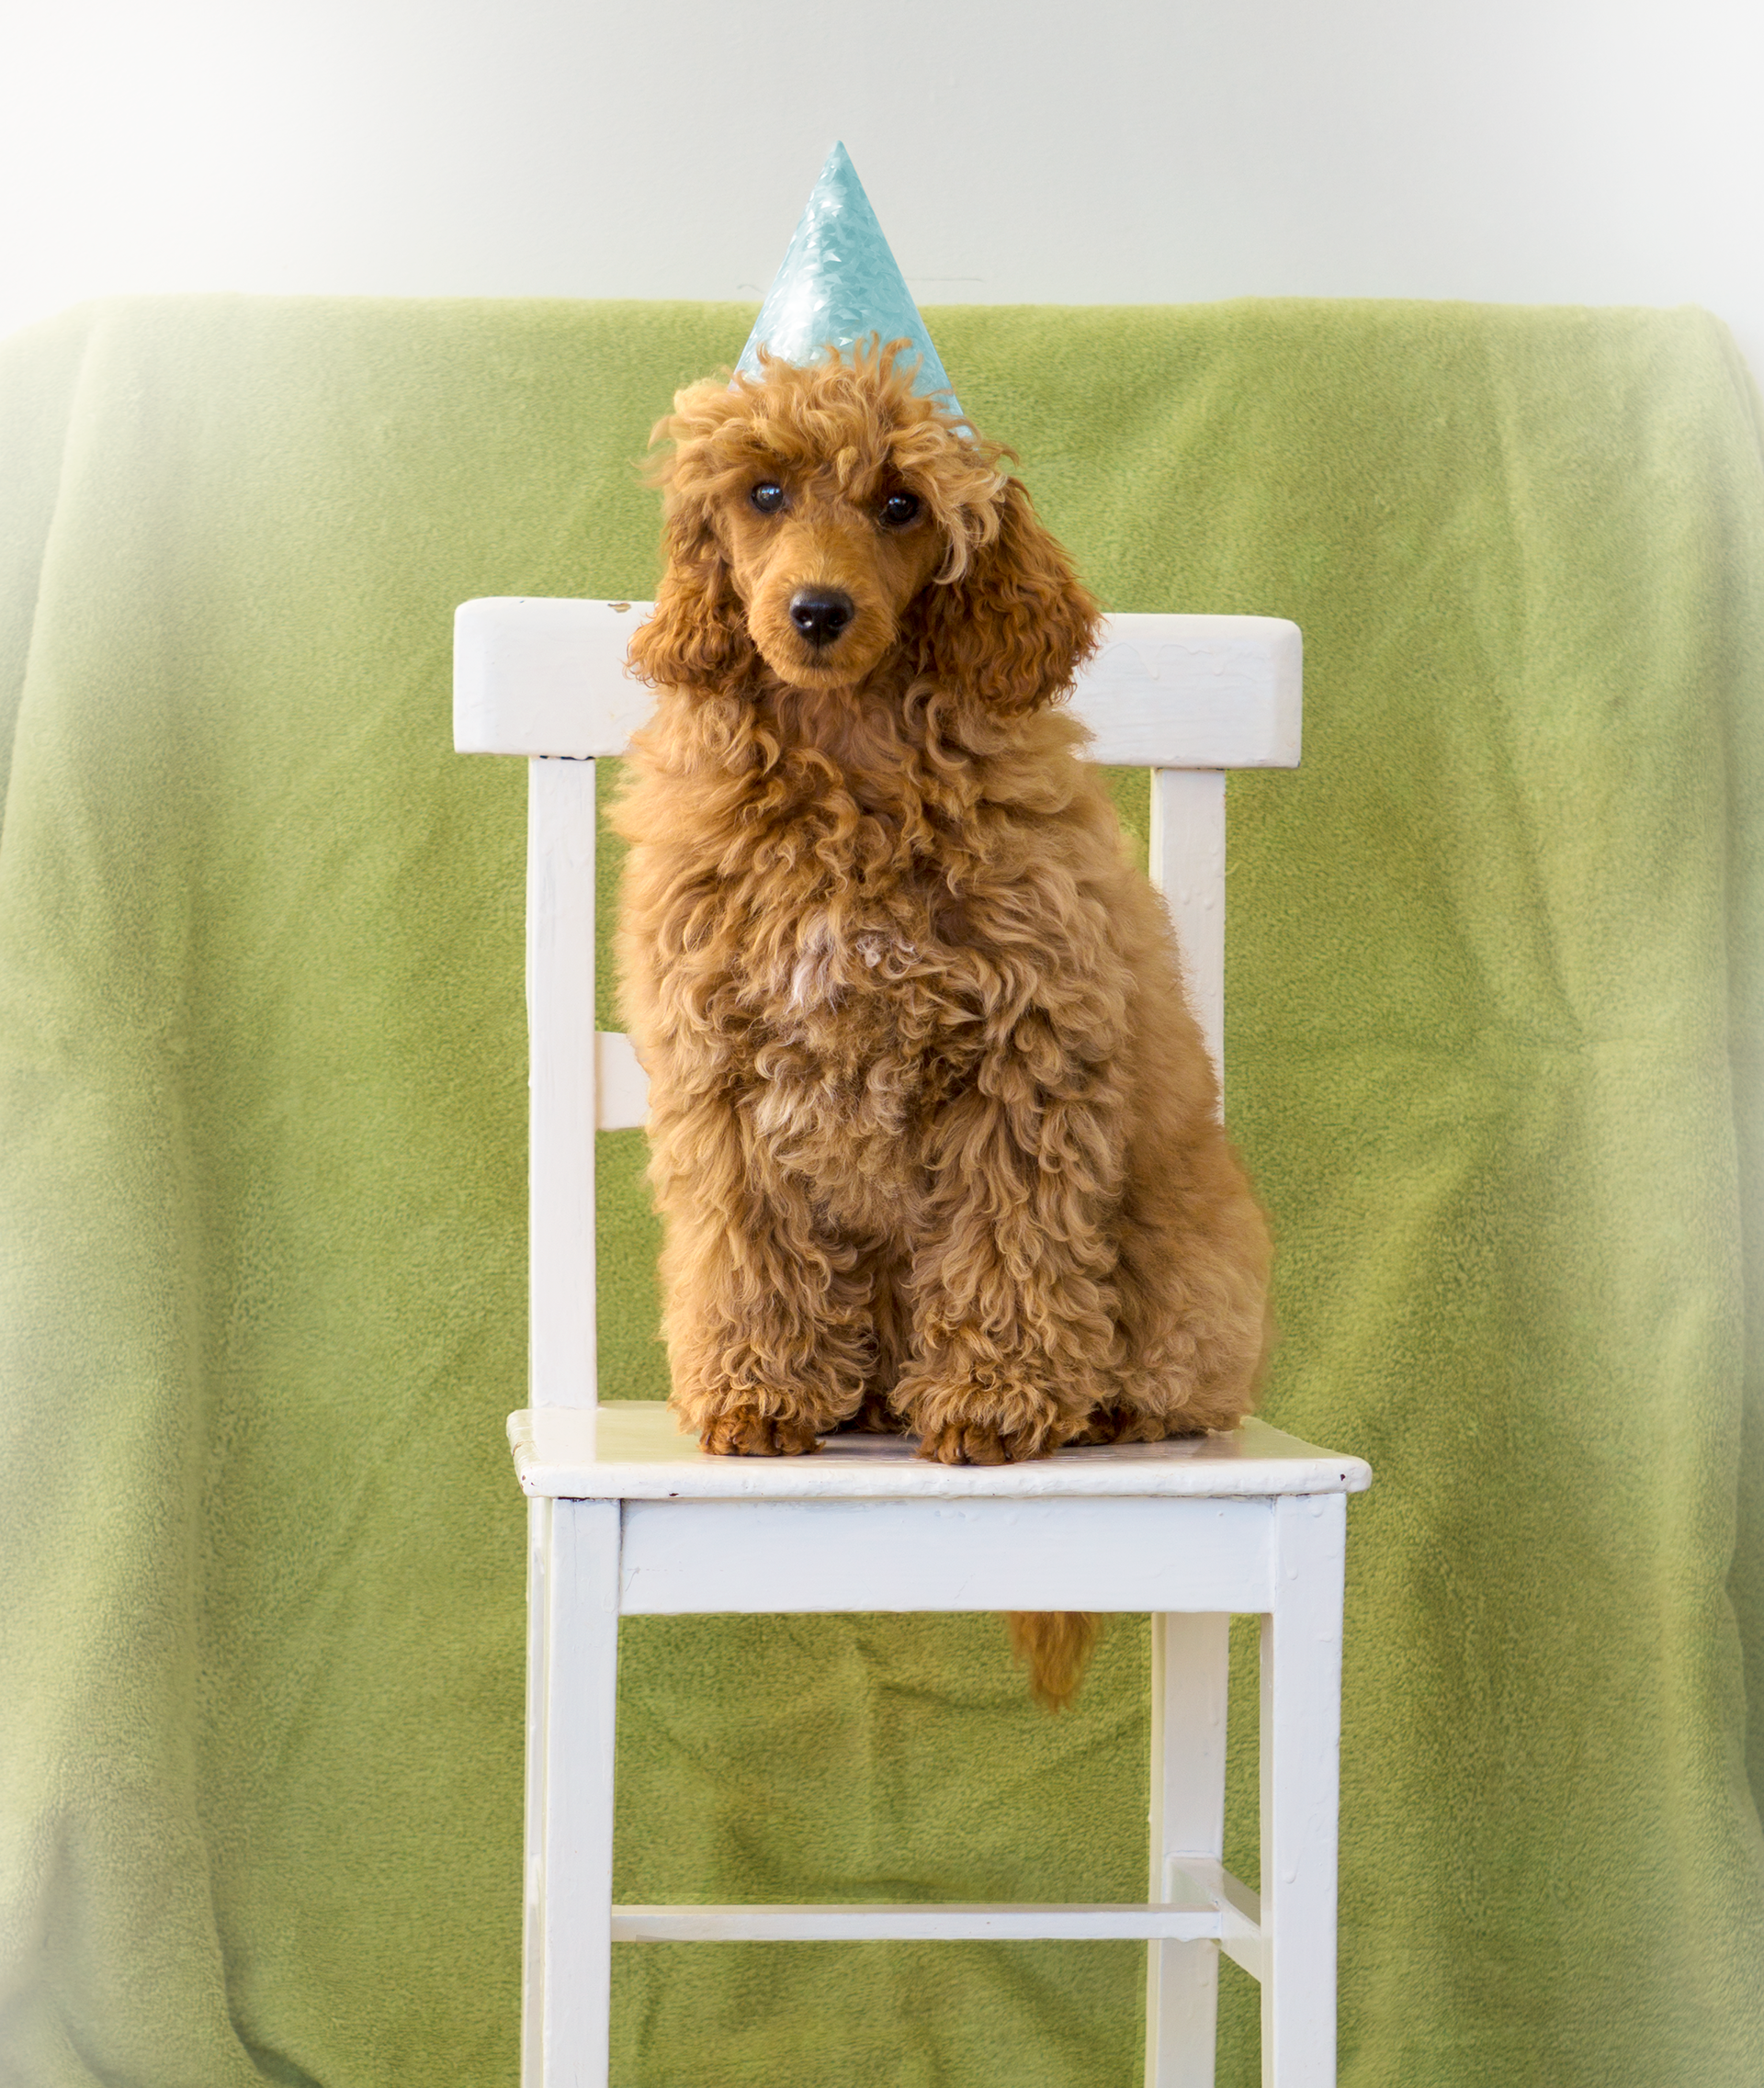
Adding shine, bling, and more light.
Step 4: Background swap 🤩

Step 4: Paint a pink background. Chose a decoration.
Step 5: Decorate as you please and round off by adding sharpness.
Now it is time to change the background!
I change the green highlights to pink ones to match our pink background color, making the background swap more realistic.
I am also adding decorations to my image to make it pop. Finally, I add sharpness to the eyes and fur.
Hurray! You did it! 🥳
Now you know how to create better light in your image, edit specific parts, and change the background! 👏 Summary below!
🍎 Step-by-step Summary:
1. Start by making global adjustments when editing. Then make selections so that you can edit specific parts of the image.
2. Match the colored light bouncing against your subjects to the light of your new background color, for a more realistic look.
3. Enjoy your creative freedom and have fun!
🍎 My flops and takeaways:
- Plan ahead to save time during editing. When I take photos of our dog today, I first ensure better light in the scene and use manual camera settings.
- If you want to change the background color later, put your subject further away from your colored background to avoid color casting.