
Let's debunk a common misconception - that a photograph is nothing more than a simple button click.
That's a load of balderdash!
And the embarrassing truth is that the blame falls on us photographers for perpetuating this misconception.
Asking for the raw images? Oh, no, no, no!
We guard those raw images like precious, secret, treasures. You see, photos can look rather lackluster straight out of the camera...
(that's a polite way of saying "shit," by the way)
... So, we keep the raw footage kept under lock and key, away from prying eyes.
Think of photographers as bakers - we want to present you with the perfectly frosted cake, not the blob of raw batter.
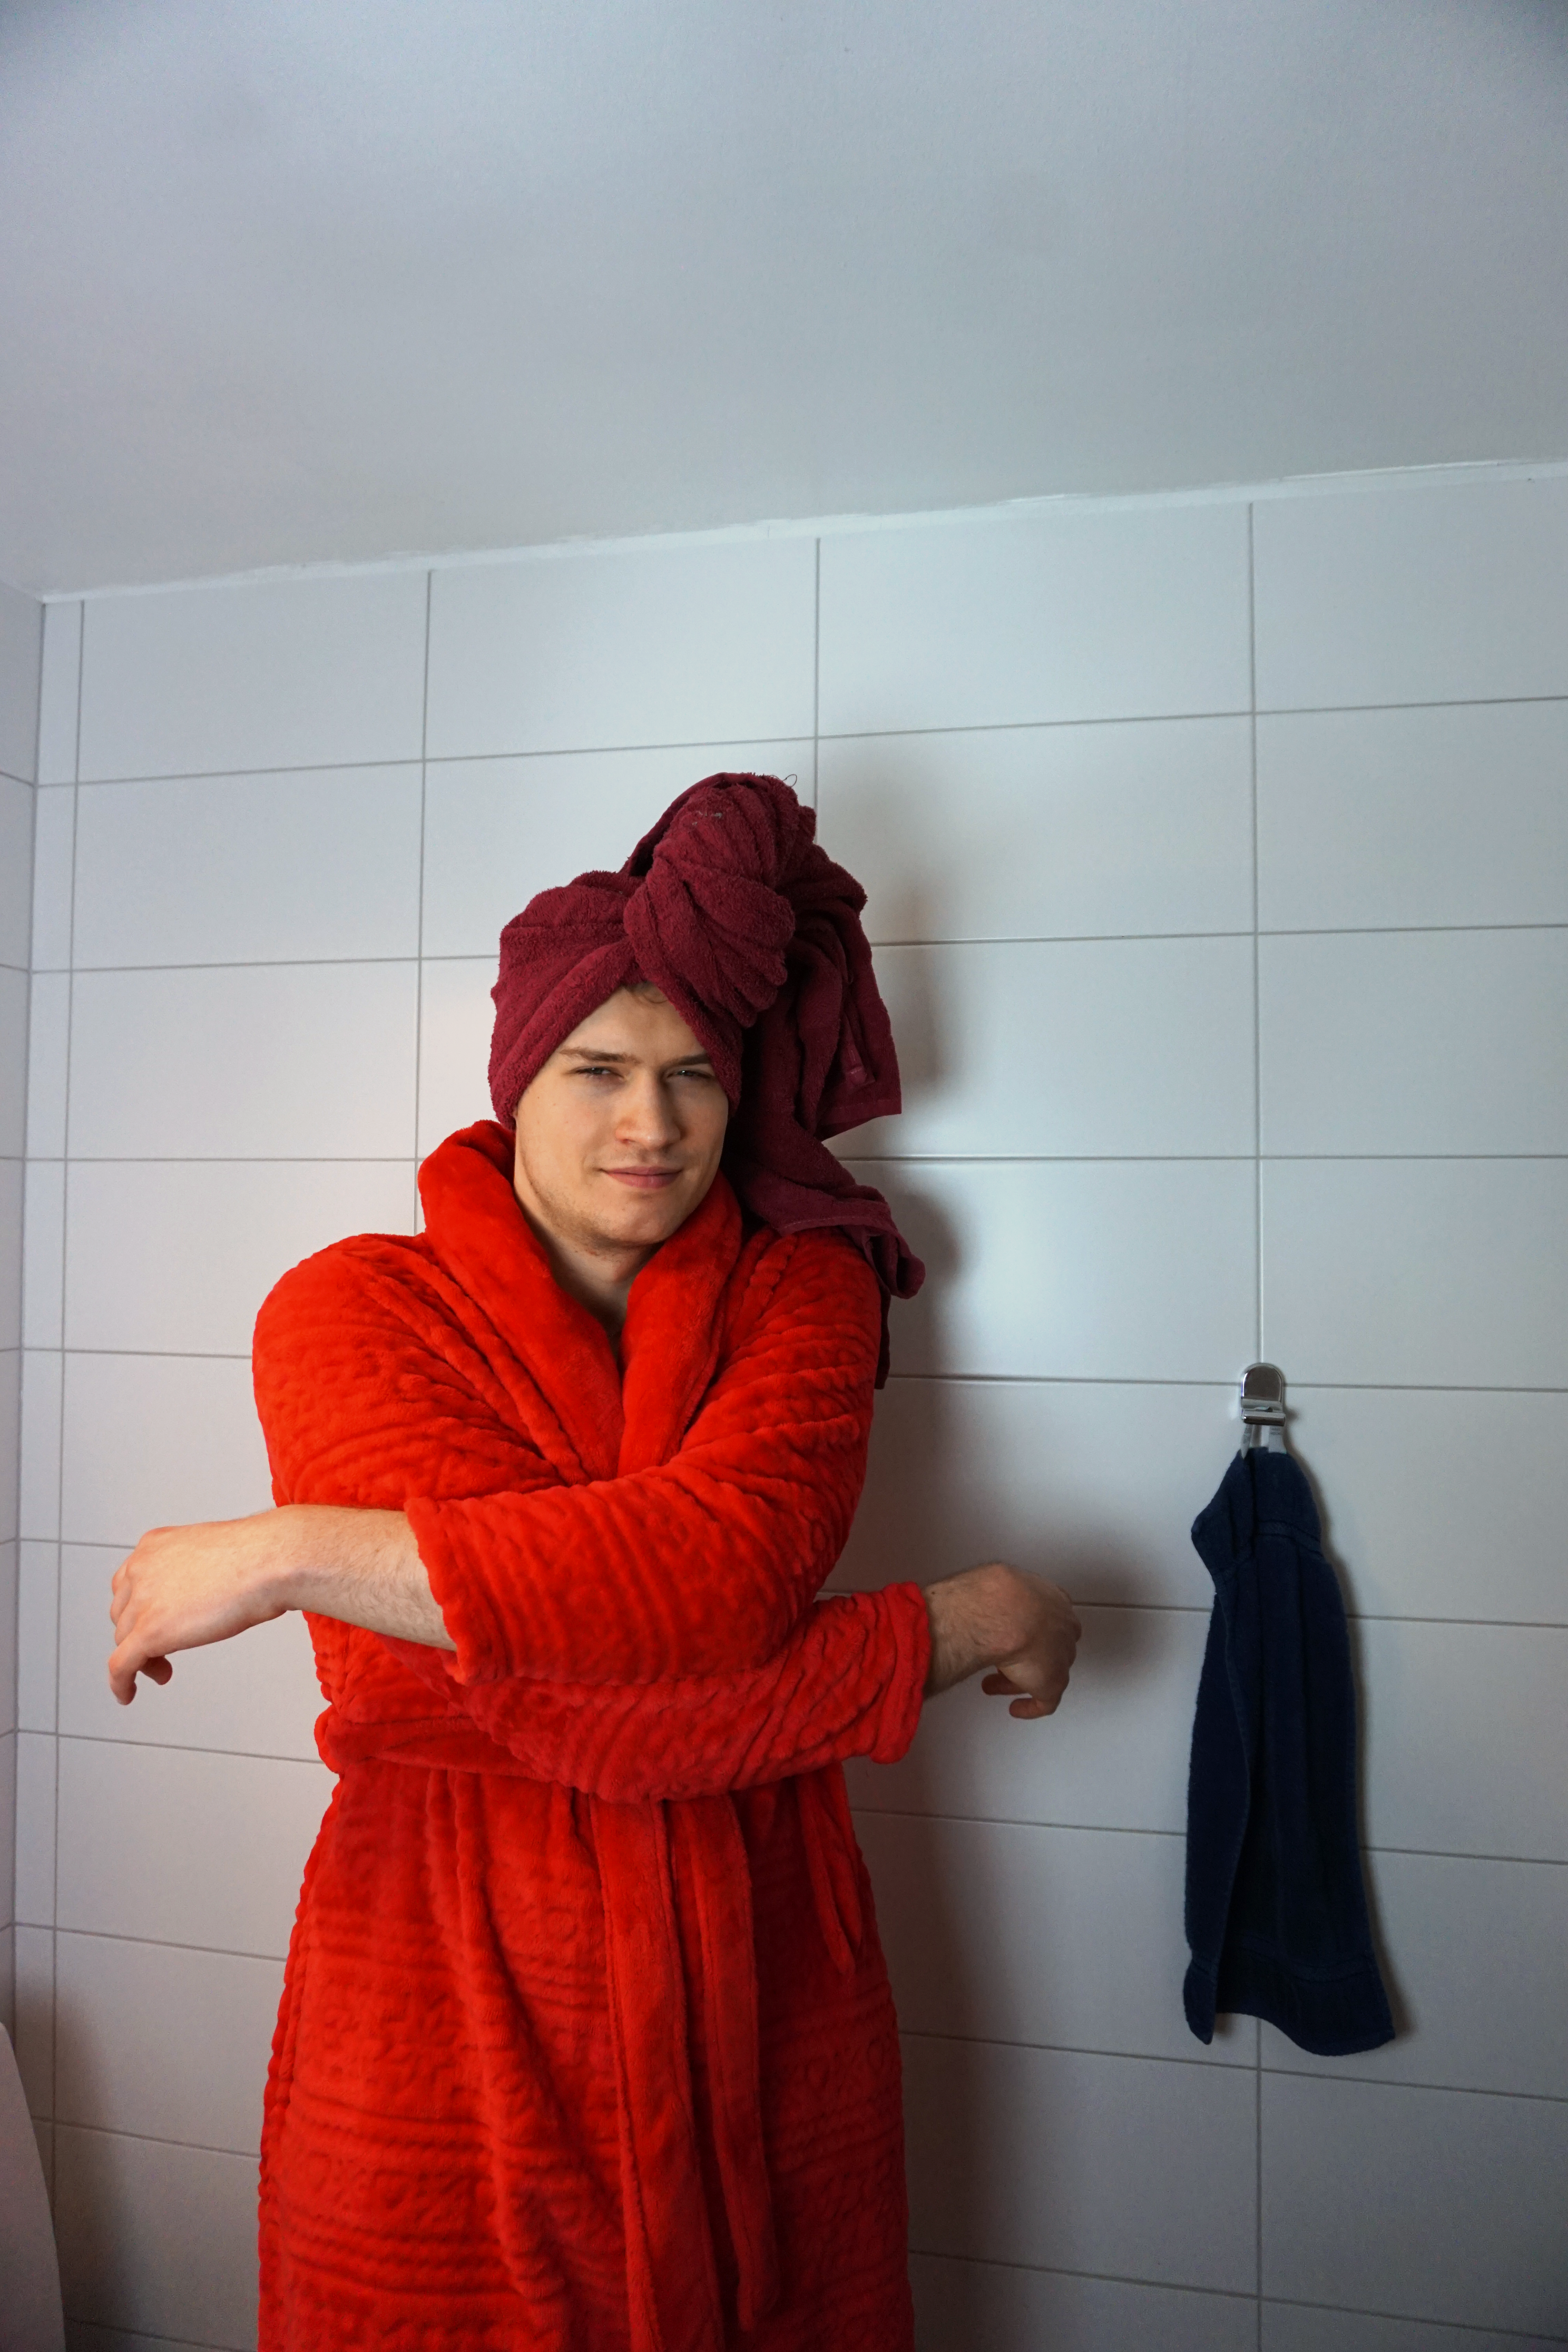
Blob of raw batter. (the raw image..not the model, he is cute!)
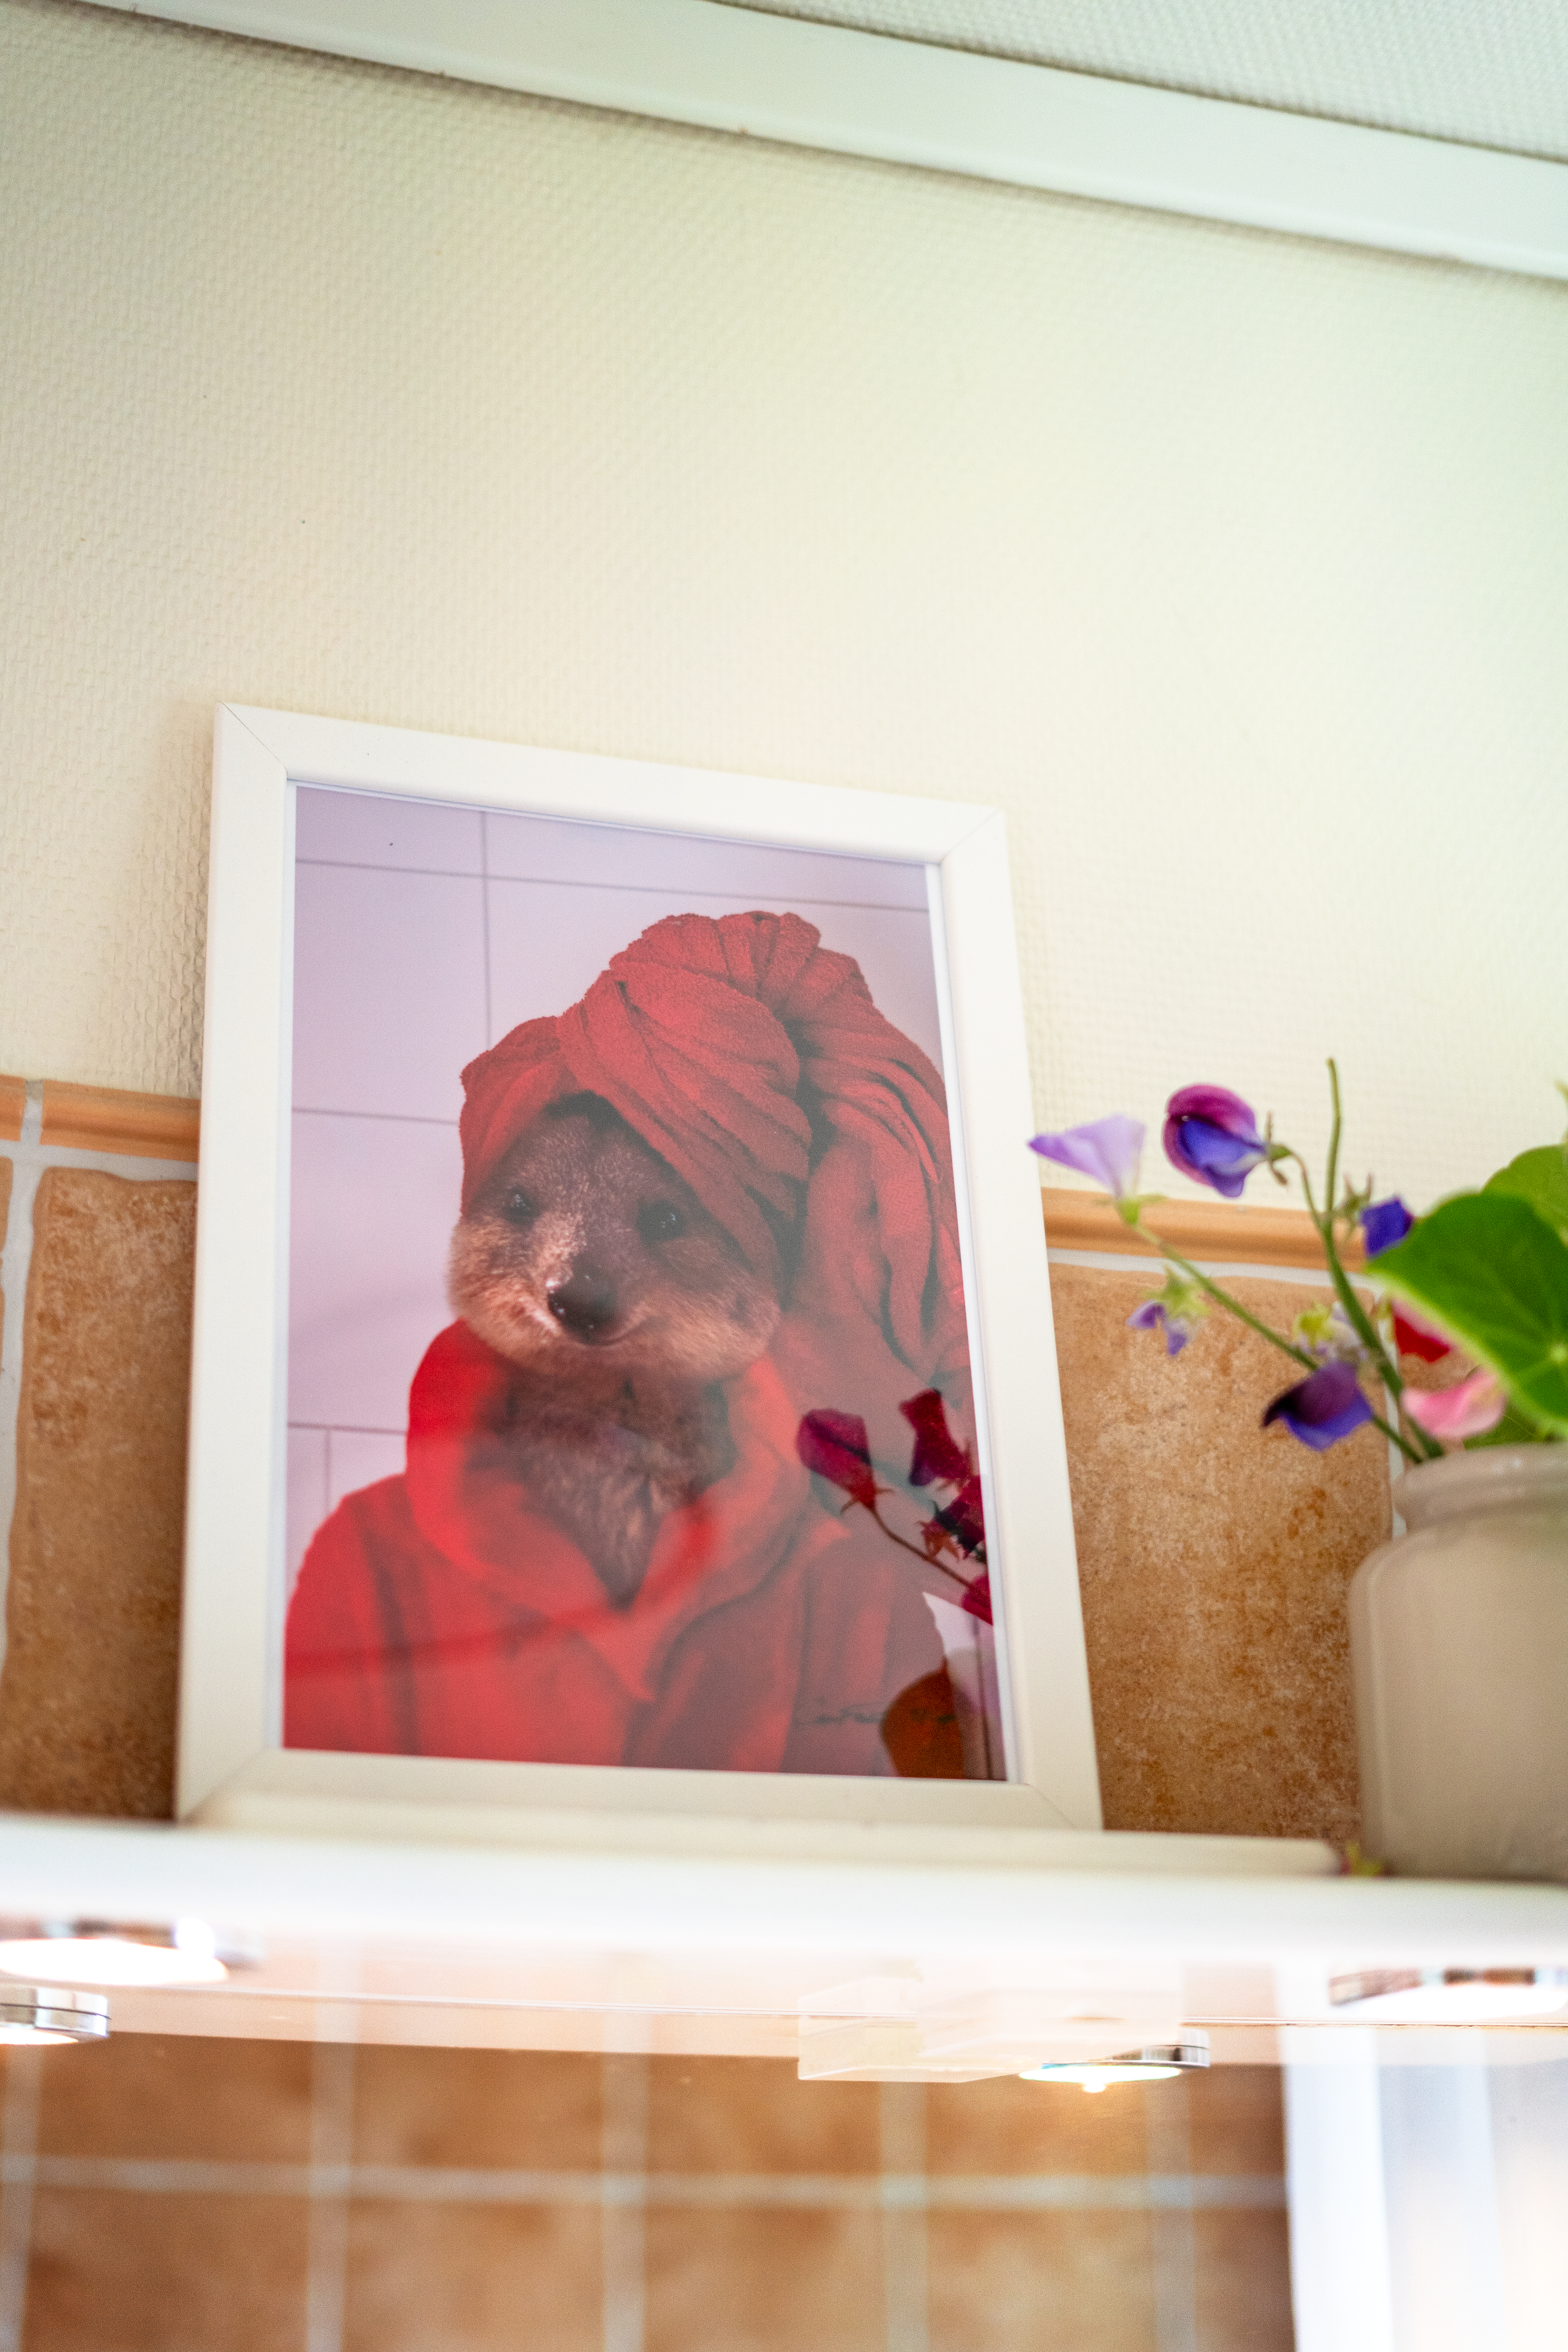
Perfectly frosted cake of an image
Raw image on the left, final masterpiece on the right...
Ps/ Yes, my Sambo ~ totally ~ loves modelling as a Quokka while wearing my, gorgeously, outrageously red robe! ...Tots...
What I want to demonstrate is this: that perfect photo that you see on social media or a web page? Most likely a perfectly frosted cake. Or in other words - the result of a photographer's skillful color correction and advanced editing techniques.
Oh, and many times, before that finger even landed on that click button, there's a whole behind-the-scenes process, where the photographer crafts the scene and sets the stage...just like a baker might prepare a cake recipe.
So let's shatter the misconception that a photo is merely a click. I invite you to take a peek at my other raw images—or my blobs of raw batter, if you will - so that you can unravel the truth of what my images actually looked like... pre-editing...vs post-editing! 🤫
Let's begin with... Photo Retouching
Like: Color correction, White balance, Light fixes, Removal of distracting objects...
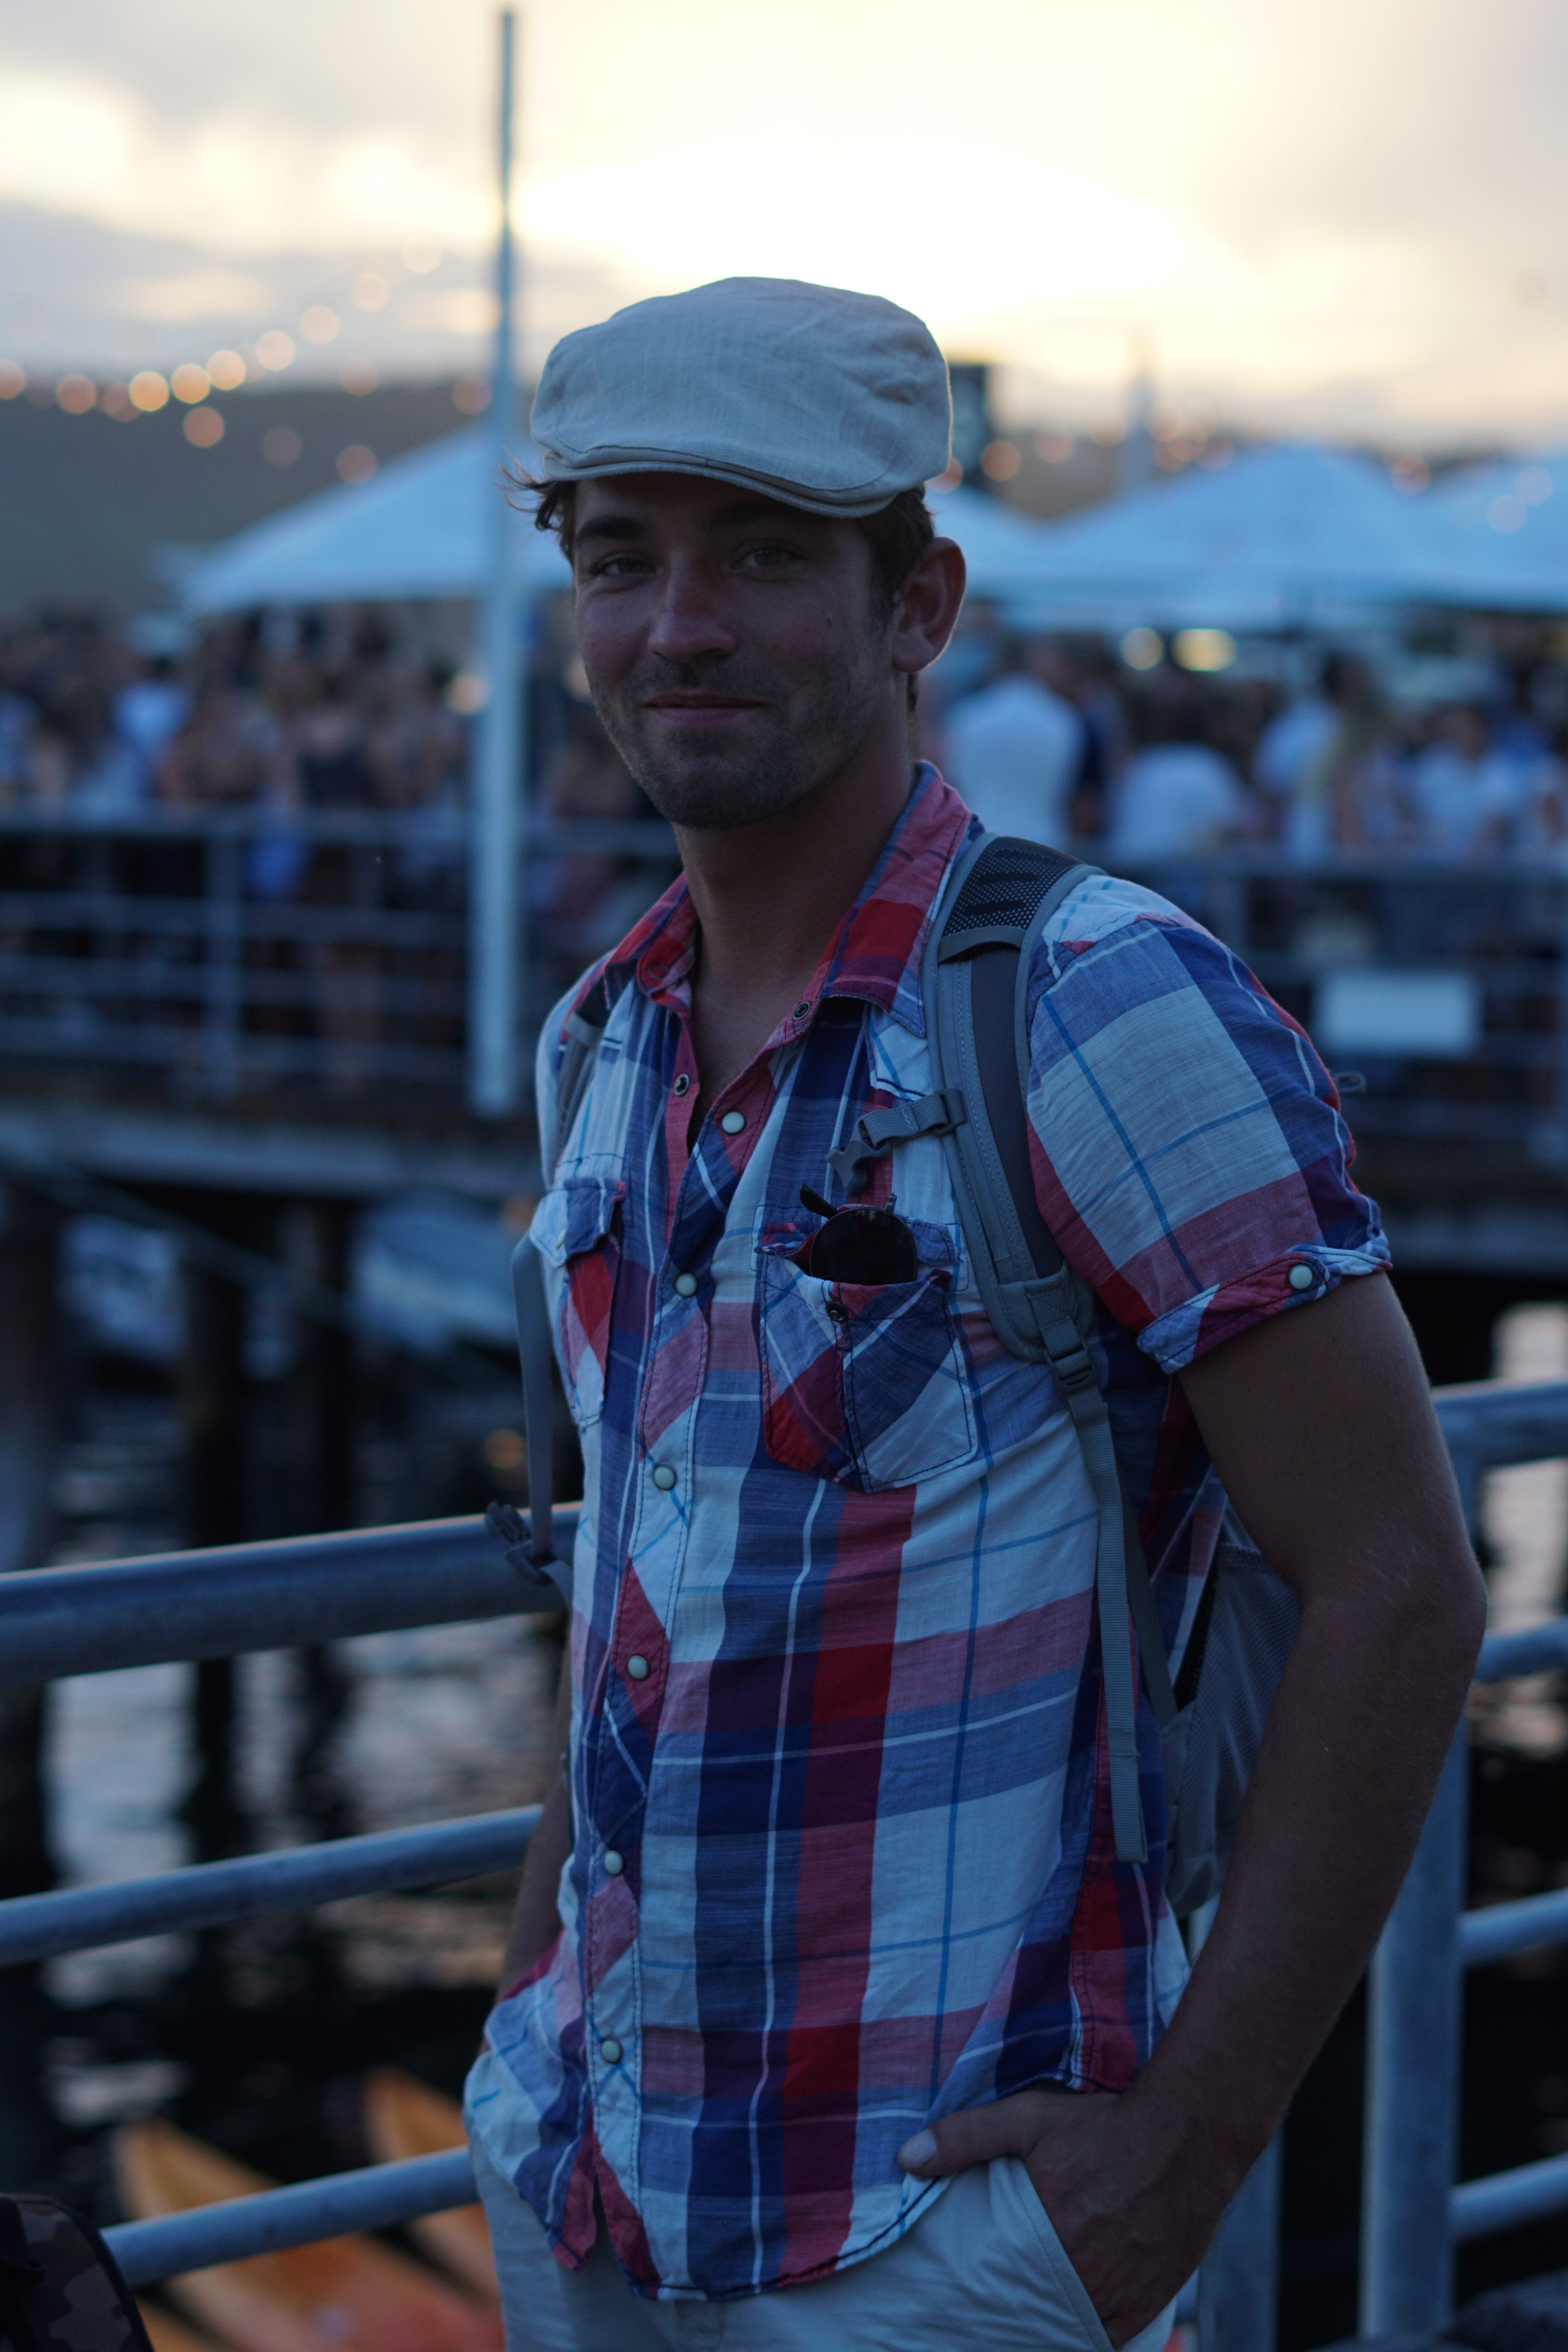
Original Photo
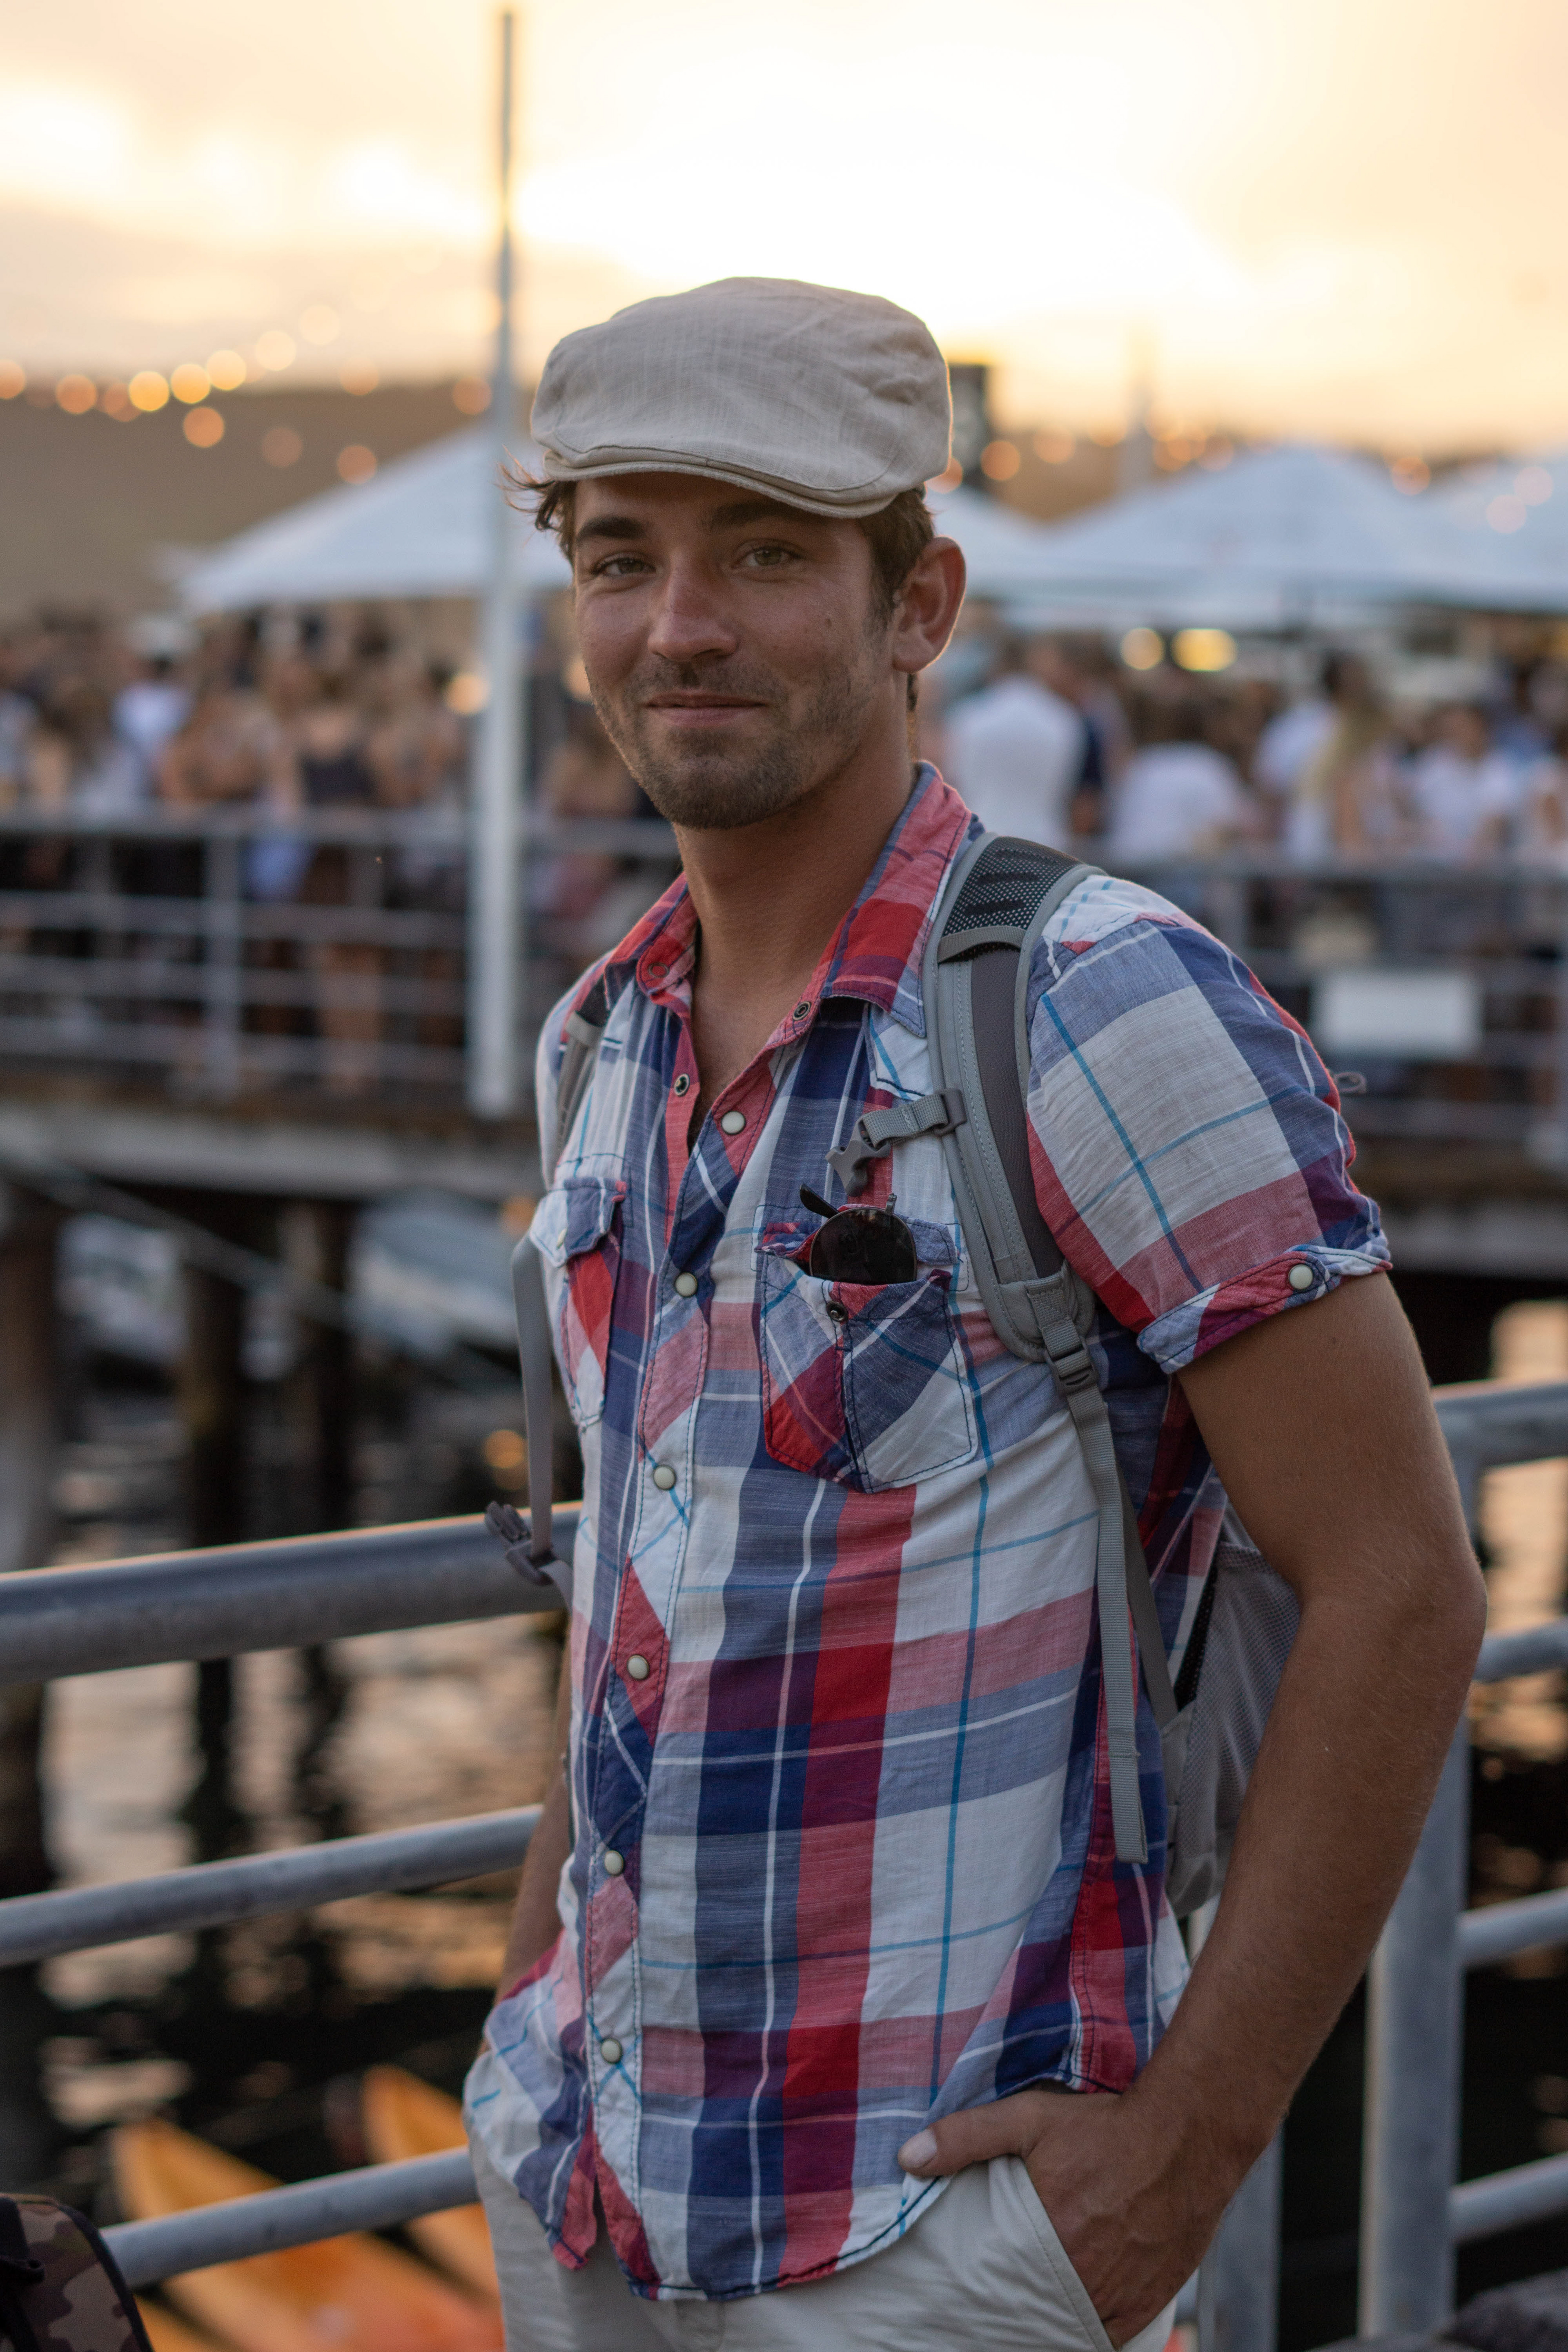
Final Image
This hidden treasure, also known as "a very blue raw image", underwent a delightful cocktail treatment of adjustments. Levels, white balance, whites, blacks, and shadows all played their part in transforming the image.
... and VOILA!
We're left with the final, brighter result. 😎
...Is what you say a heartbeat later, or a couple of hours depending on the image and your familiarity with the editing software.
With 9 years of Photoshop experience under my belt, I can confidently say that time and skill go hand in hand. (Well, let's hope so! ;P)

Original photo
Final image
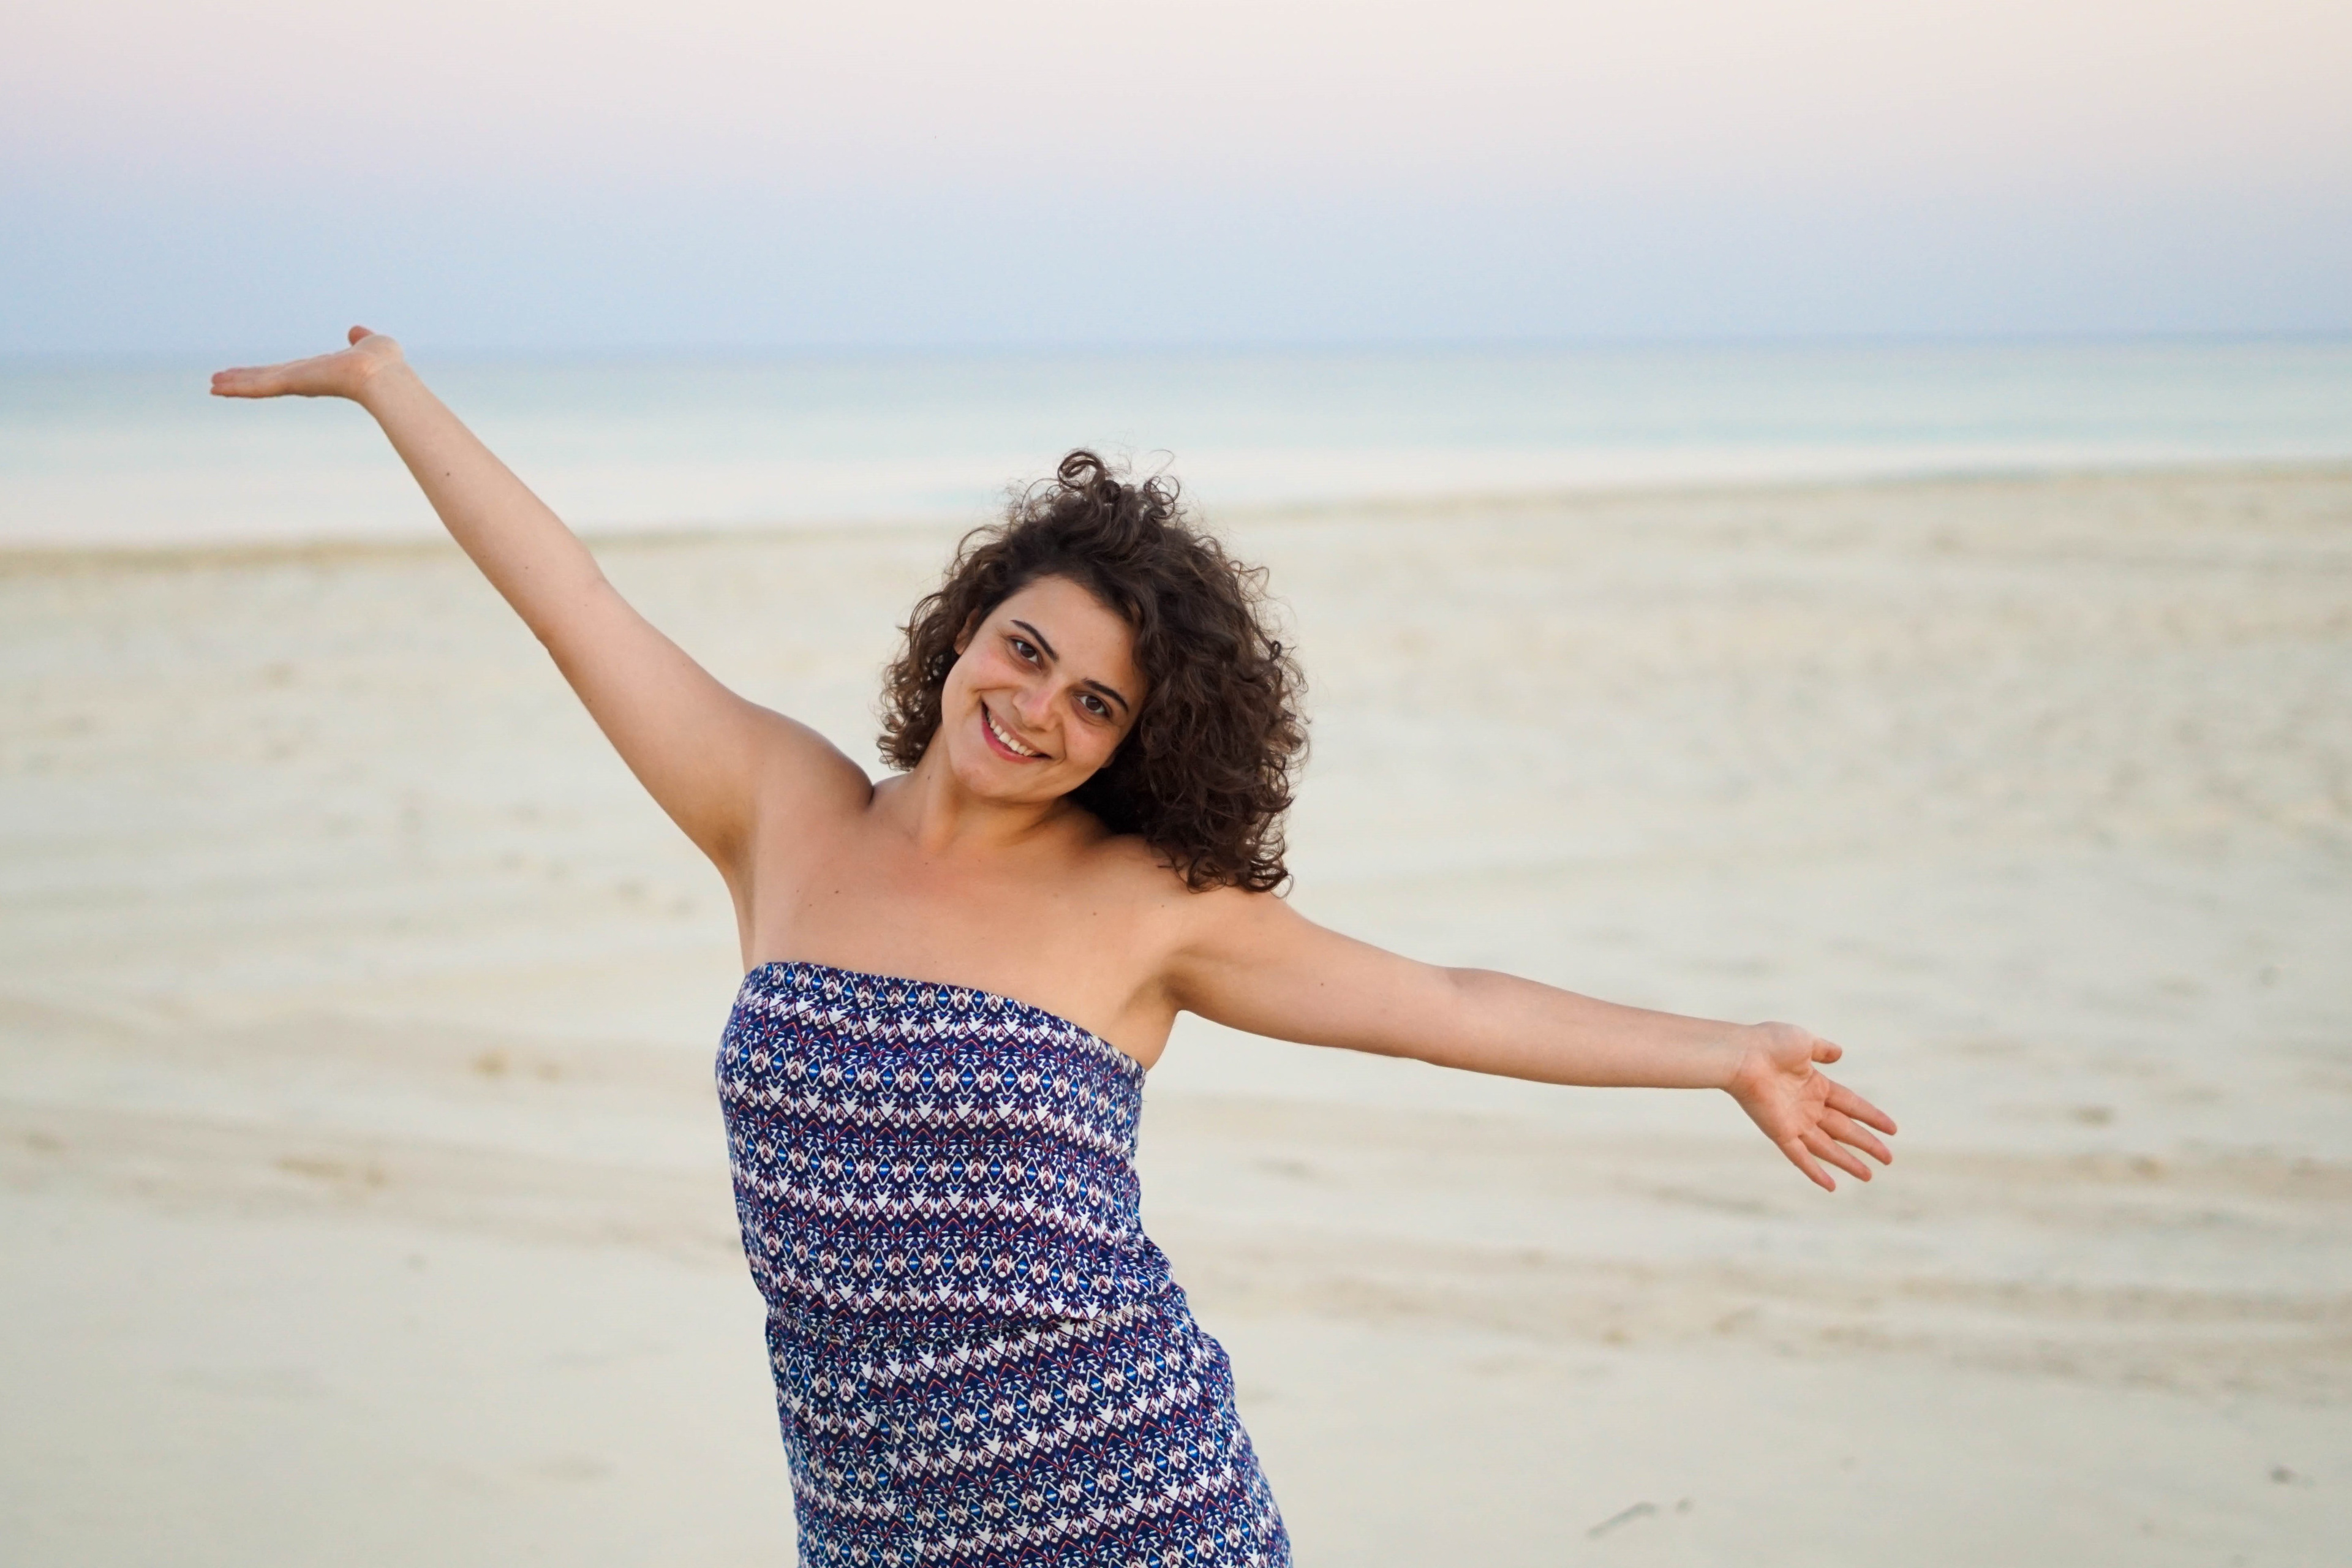
This raw image is good! But even the good images can get better. 😉
I brightened this photo up to match my friend Miramar's bright personality!

Original Photo
BAM final image even bigger
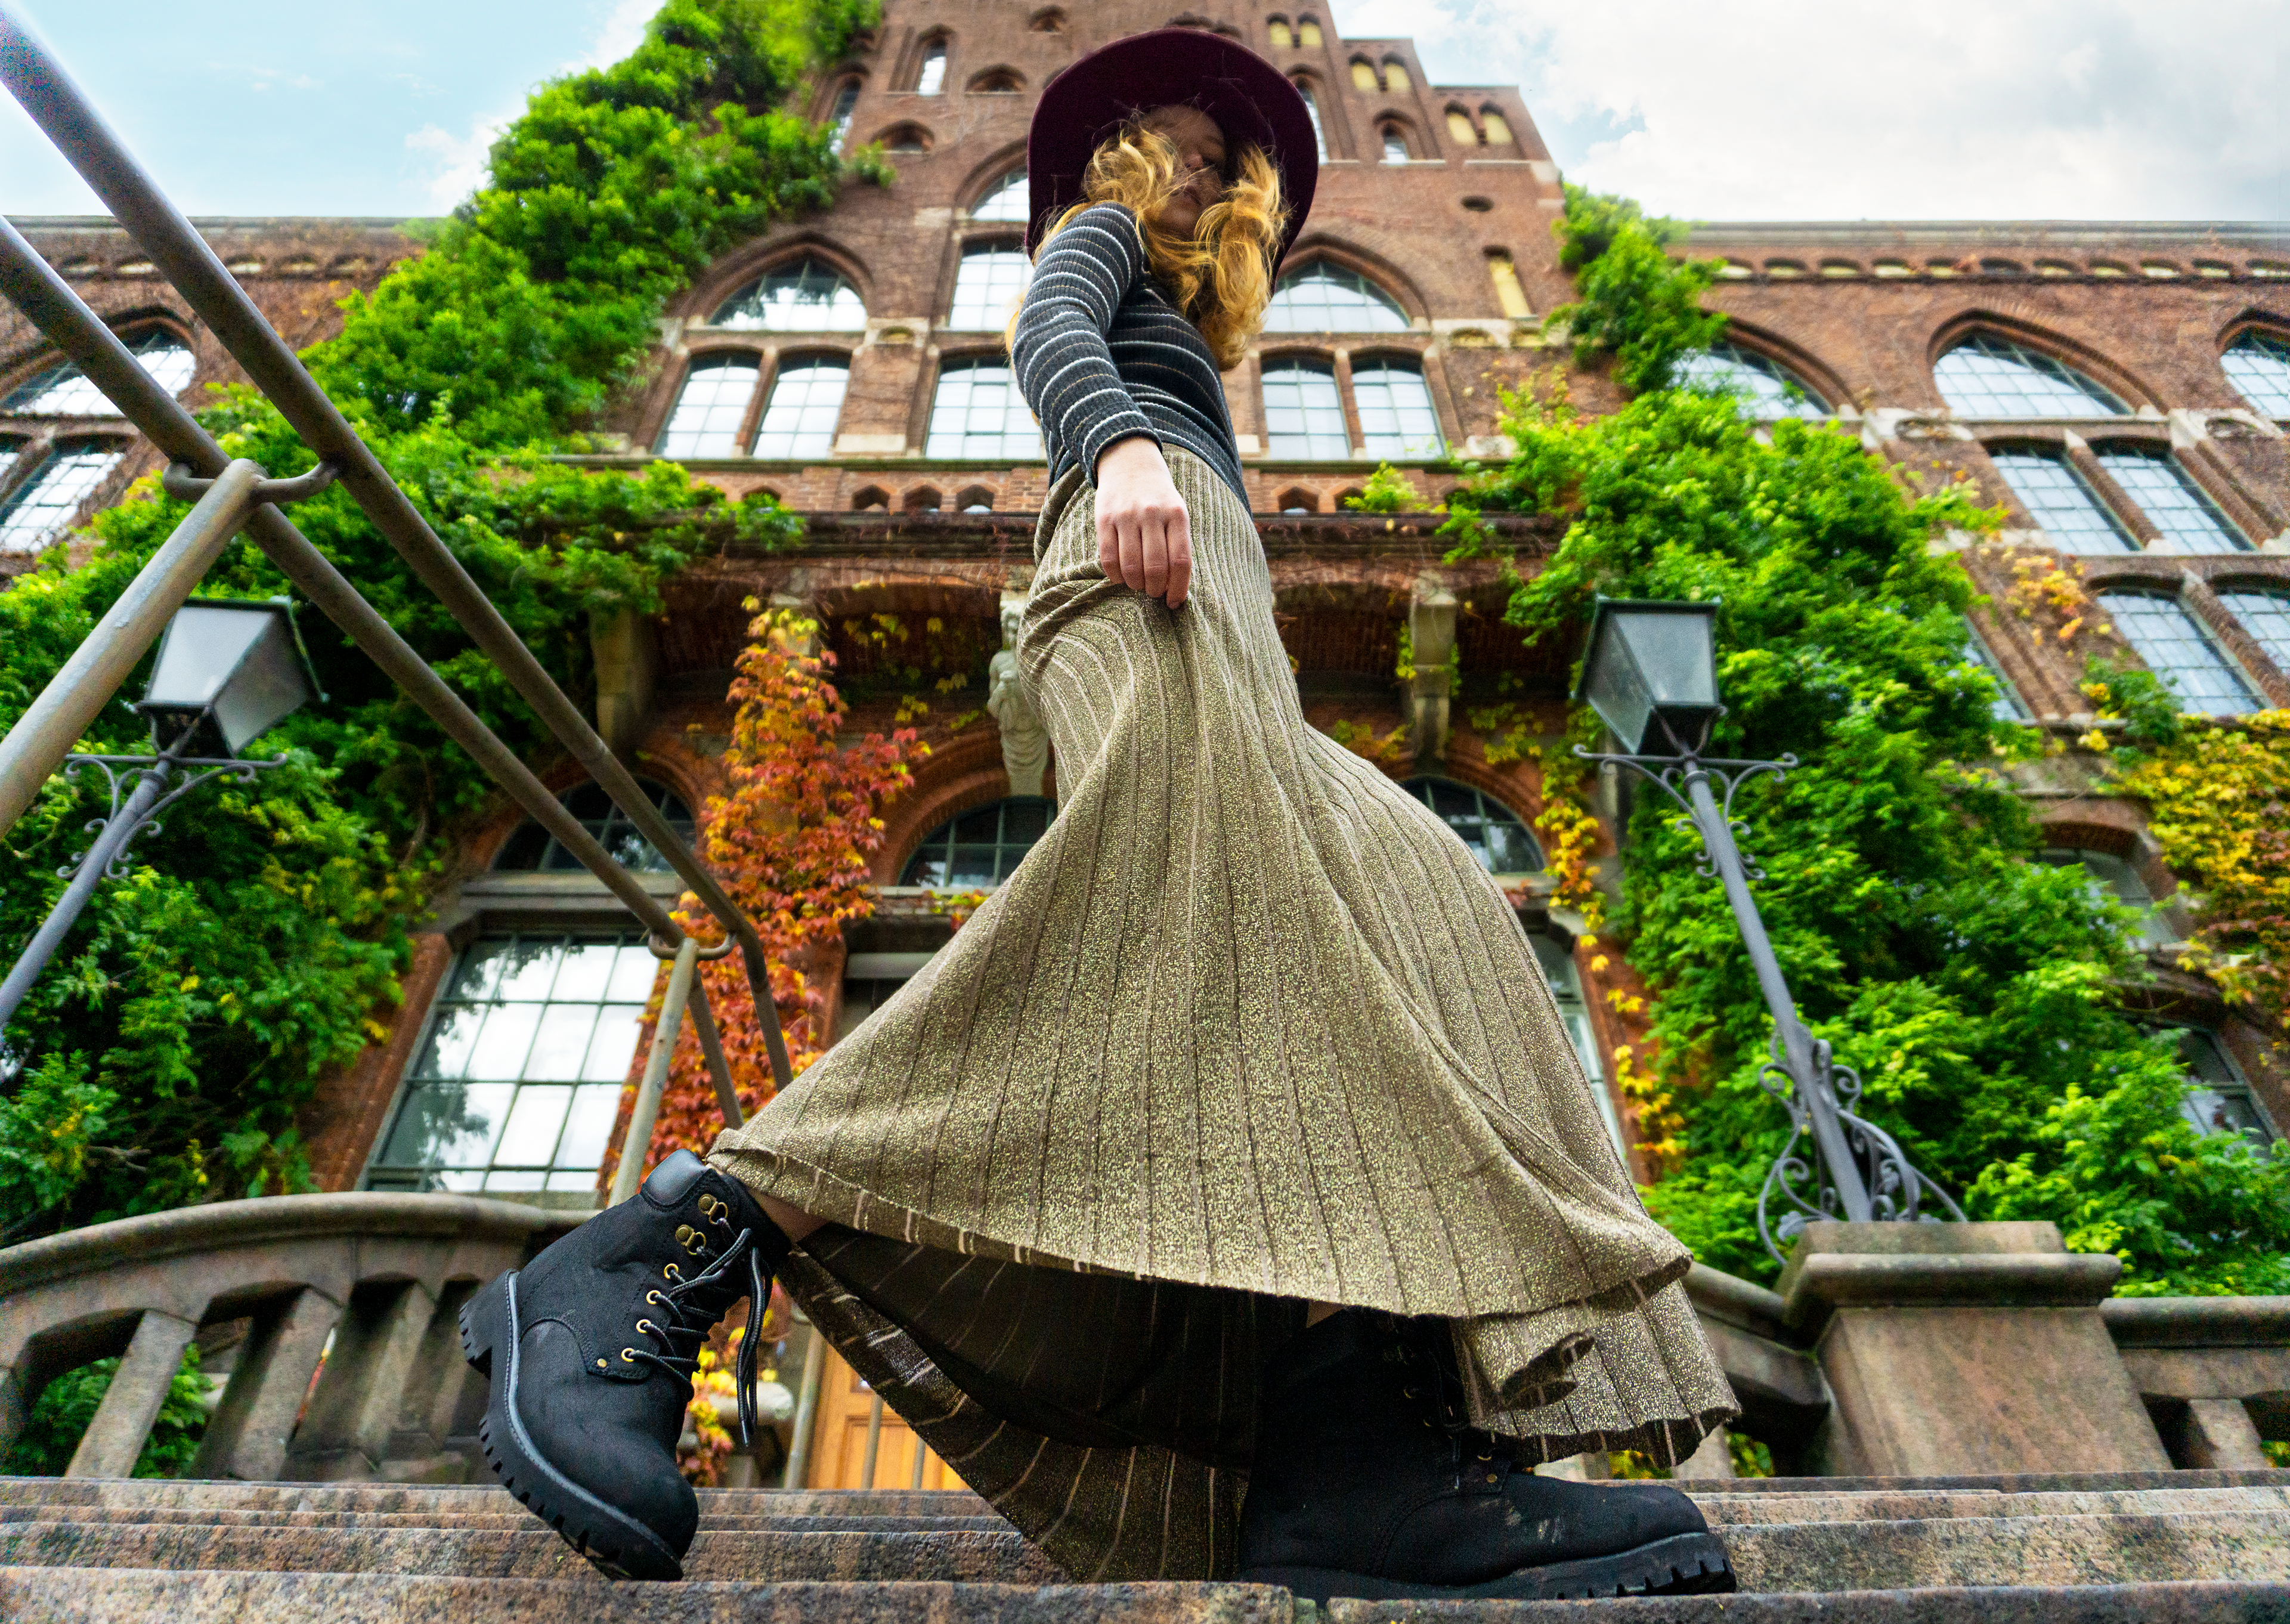
Besides color and light adjustments, adjusting the perspectives of an image can lead to cool results too. And my friend Agnes is, indeed, cool. Knowing it would add to the look - I changed the perspective.... And added a brand-new sky as a final touch.
Digital Artwork
Like: Removing a whole mountain from the photo or adding a lion next to your ex.
Only your mind sets the limits, really.
Only your mind sets the limits, really.
...Let's dive into some drastic changes post-editing, shall we?
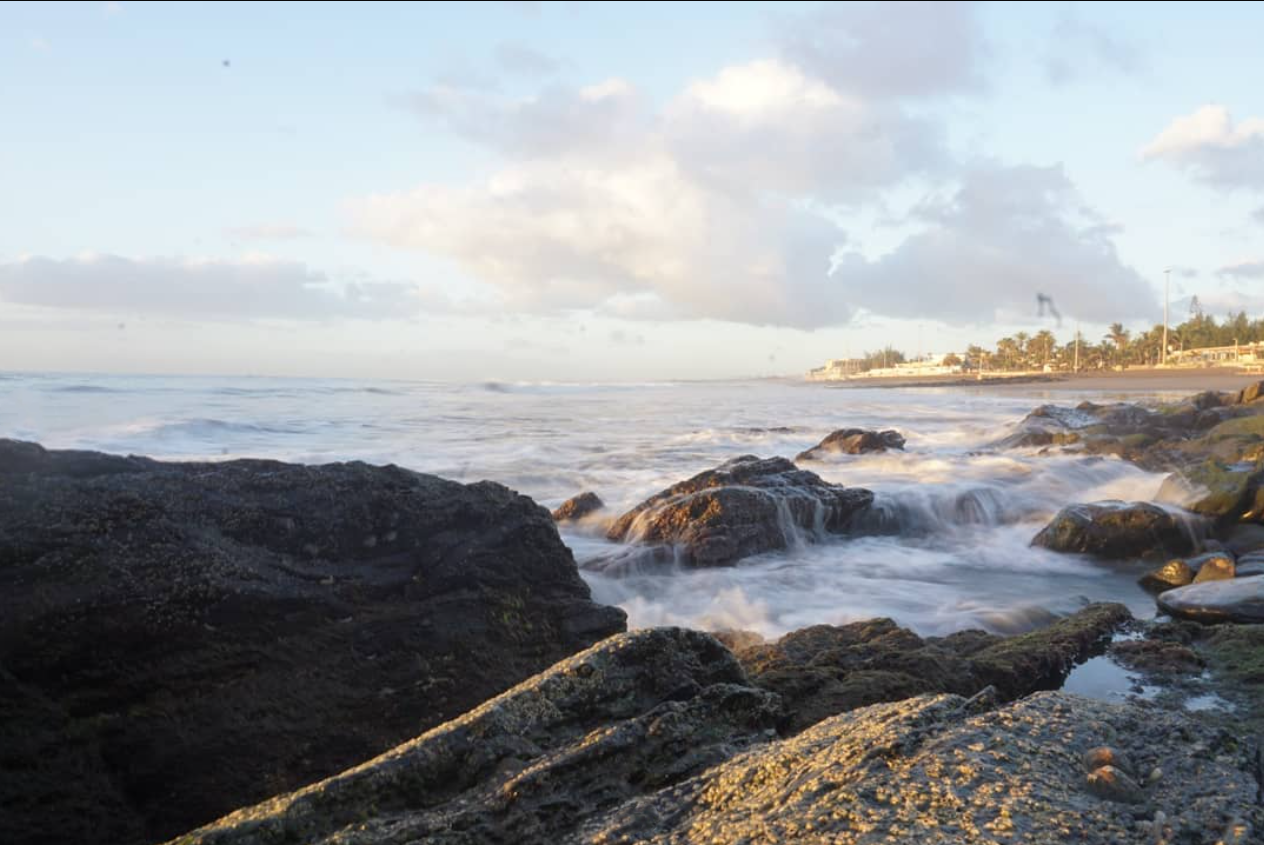
Original
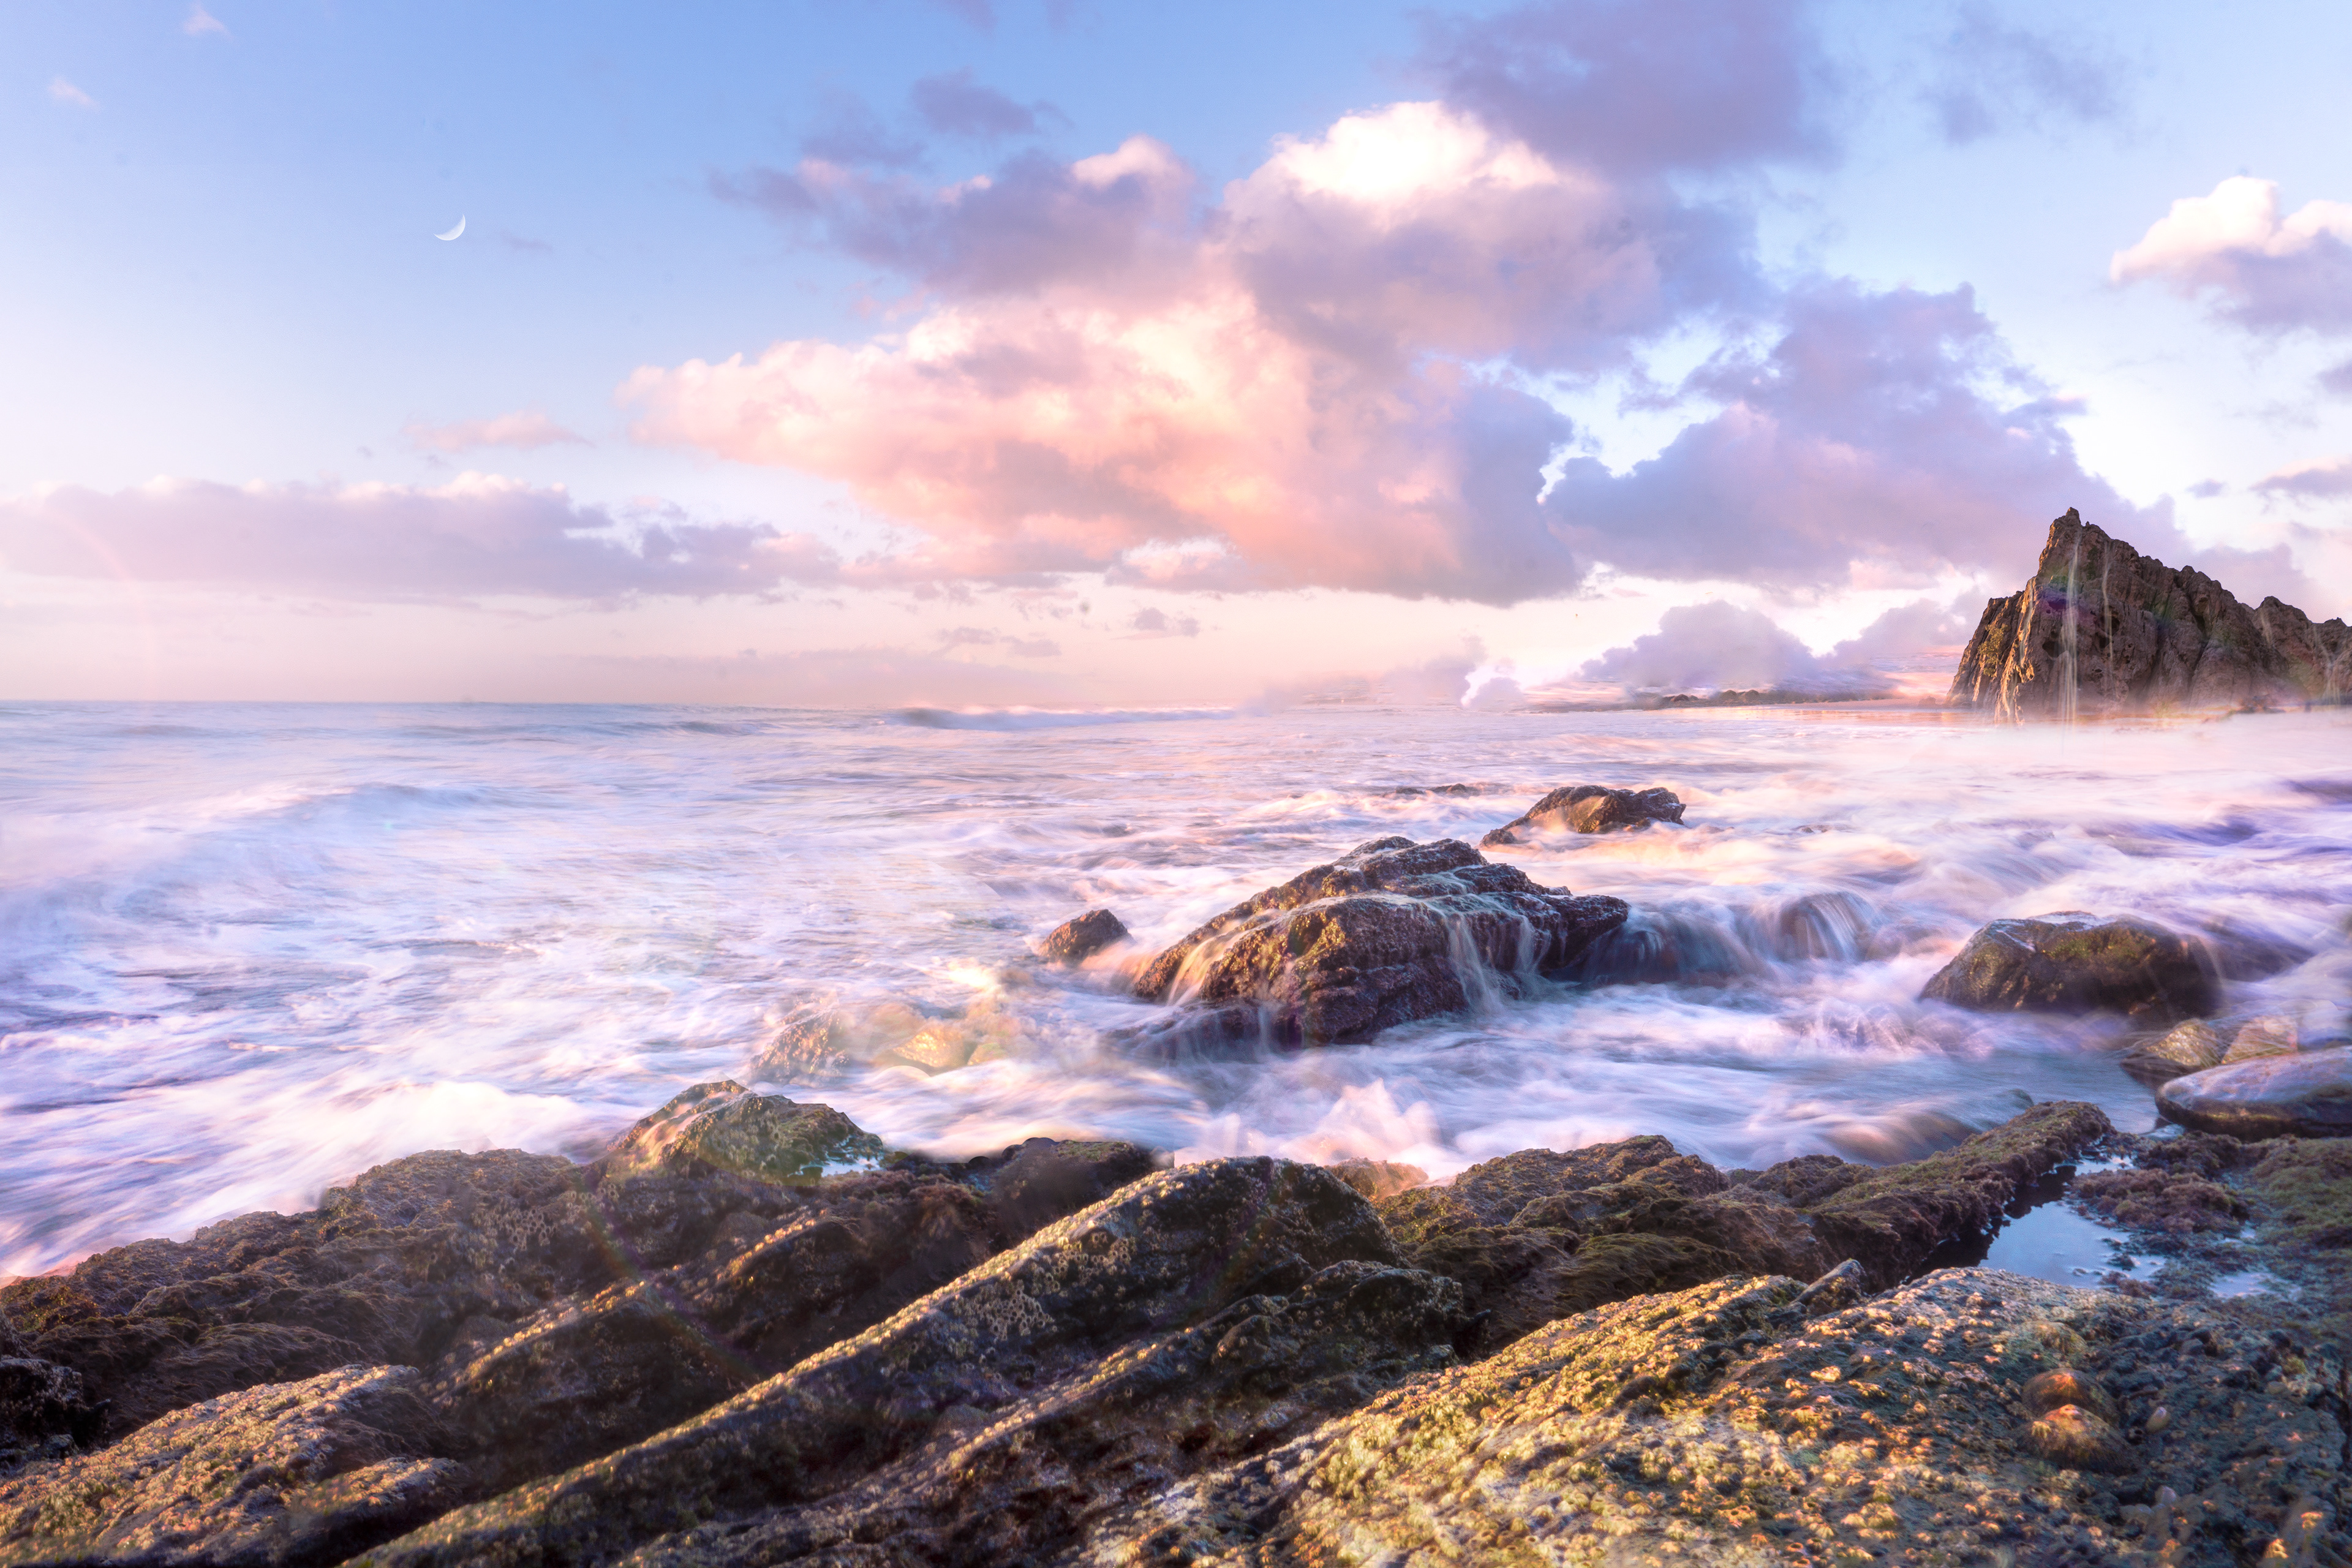
I absolutely LOVE the unlimited possibilities you have when editing an image in Photoshop (no sponsorship here, I swear, just pure fascination).
In this image, I removed the stone in the foreground, painted a new mountain with waterfalls in the background, and added new colors as well as a lens flare. I decided to top it off by adding a pretty, tiny moon.
Can you find it?
I was at Rotness Island in Australia. Found a Quokka that lost its ear.
And I knew directly that this little fellow, has amazing pirate potential.
Check out the video above for glimpses into how I turned the quokka into a powerful pirate.
In reality, there are quite a few more steps. But it gives you an idea.
In reality, there are quite a few more steps. But it gives you an idea.

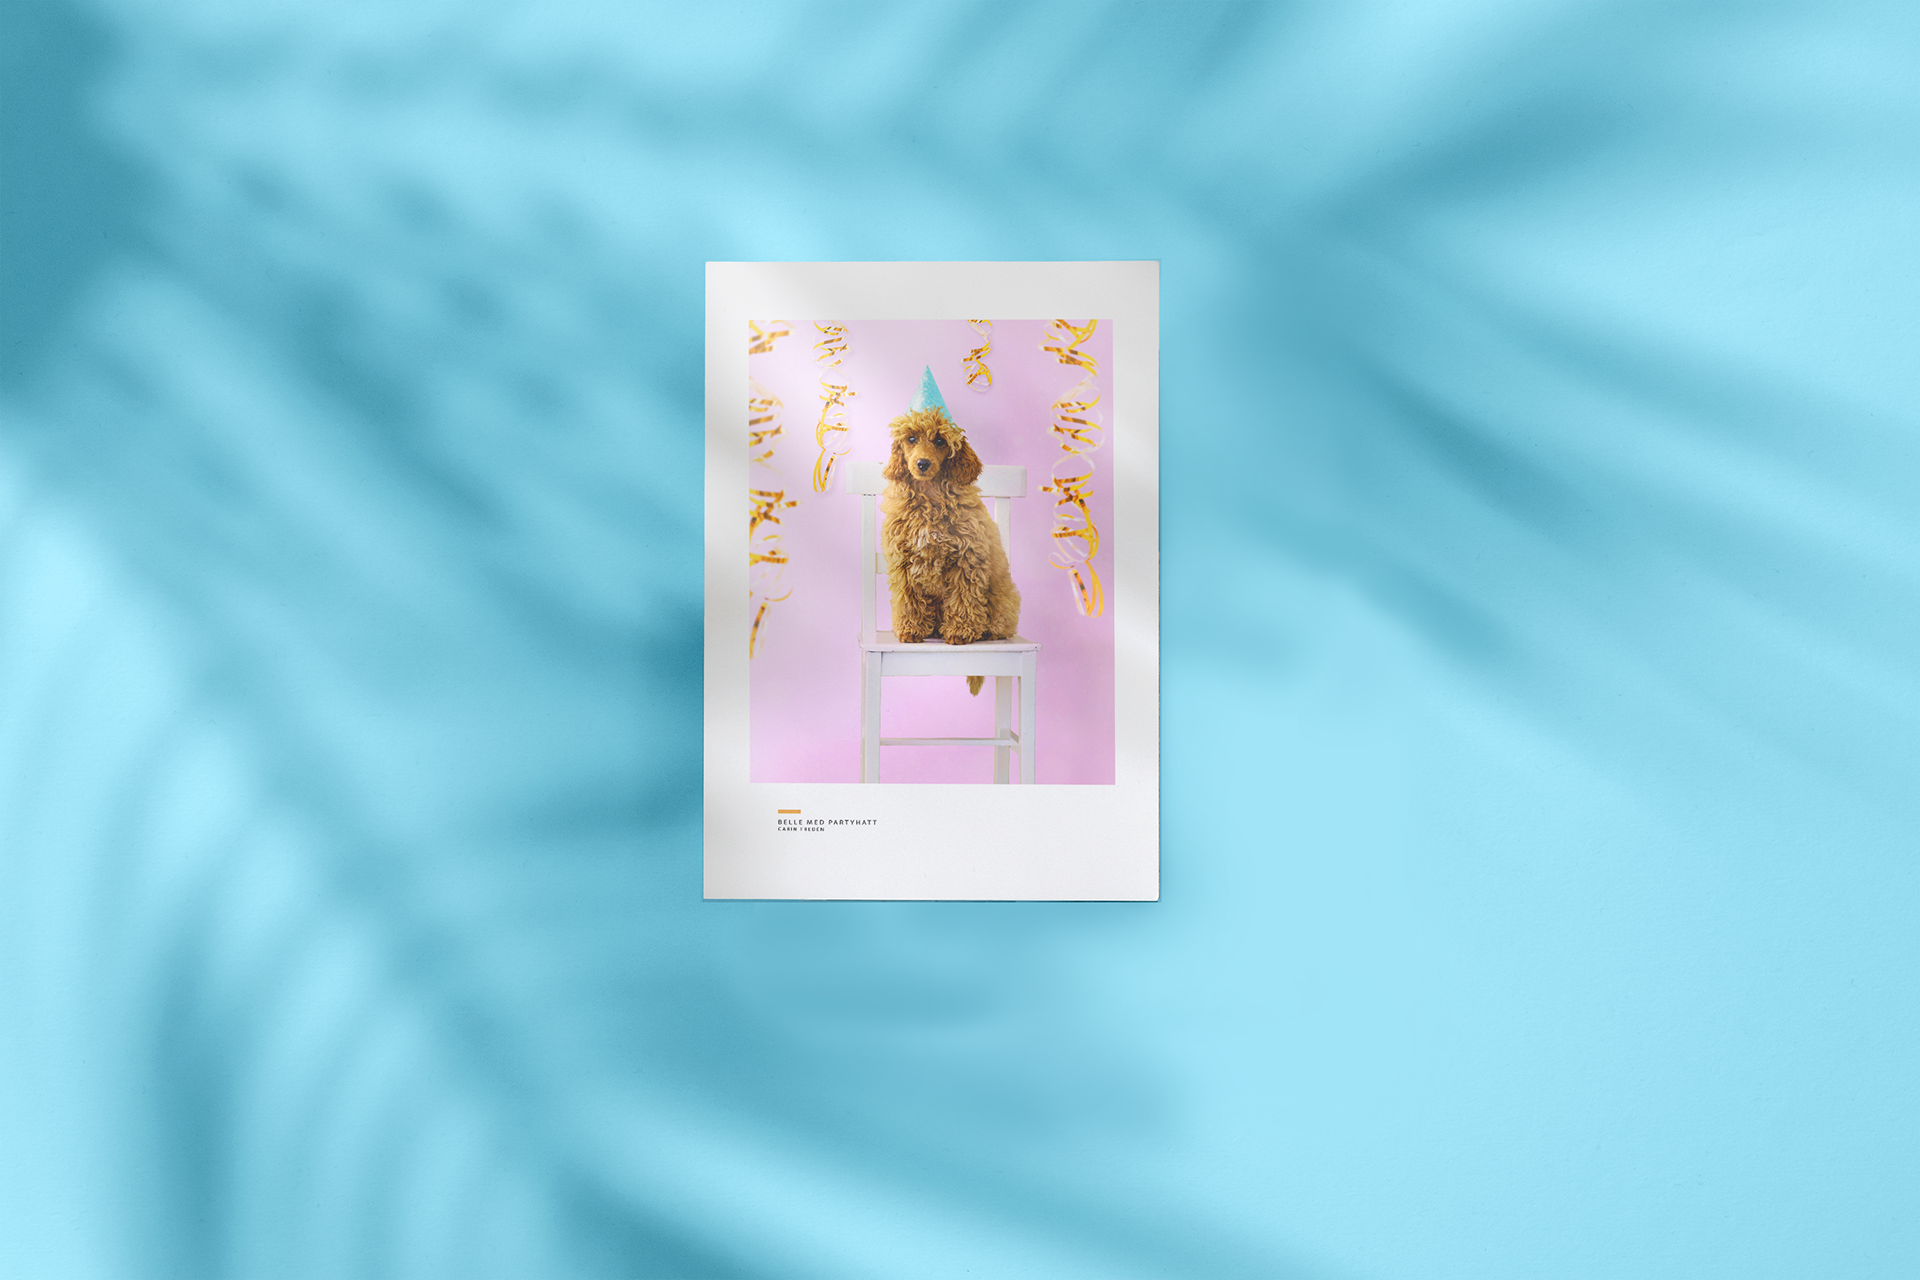
Let's be honest. The original photo had its flaws.
The dog in the image is super cute (100% biased, it's our dog), but the image is too dark. There are green colors in the highlights. And the background is not so charming.
To say the least.
So how do you solve this?
I made a free step-by-step tutorial for you, in case you'd find it handy. 🤷♀️
In here I am revealing the behind the scenes of the final image.
I hope this helps to shatter the misconception that a photo is merely a click. Trust me - there is hope even for the worst of photos thanks to post-editing!
...And good ones for that matter - editing can make the difference between a good photo, and an irresistible offer.
...And good ones for that matter - editing can make the difference between a good photo, and an irresistible offer.
Do you need help with editing photos?
Feel free to send me an email! - Carin